Tune in to Live@7withHelen Thursday nights at 7pm on Facebook and YouTube for great deals, demos, sneak peeks and more.

Augusta Crossroads step by step tute
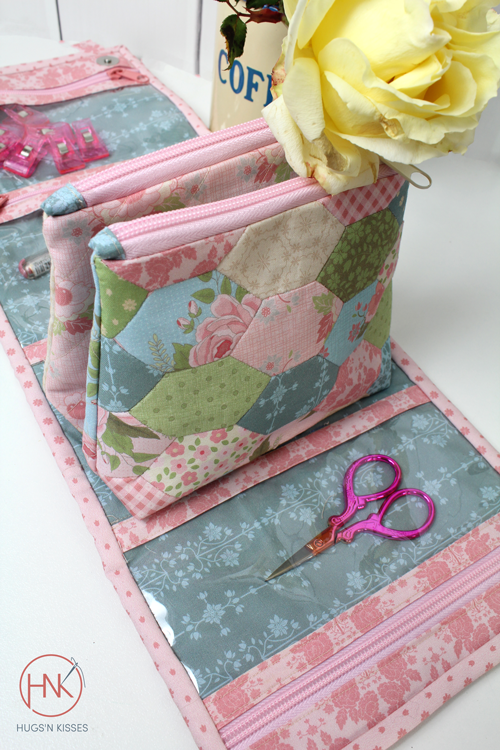
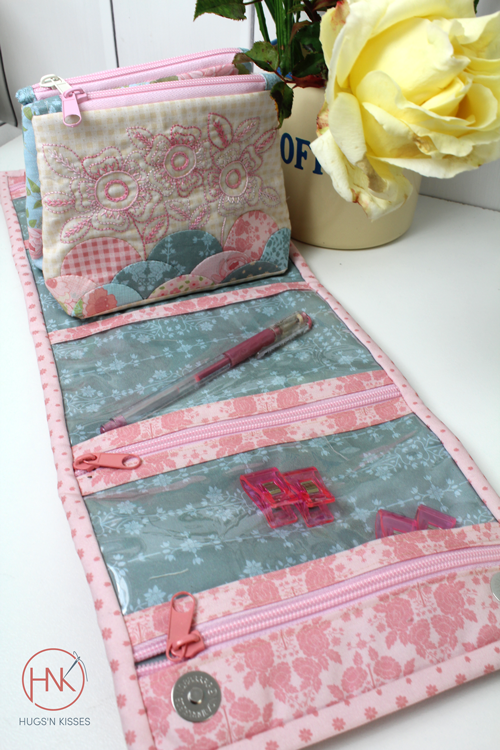
A step-by-step tutorial for those who learn visually to assist in the construction of the Augusta Crossroads caddy project pattern is available here.
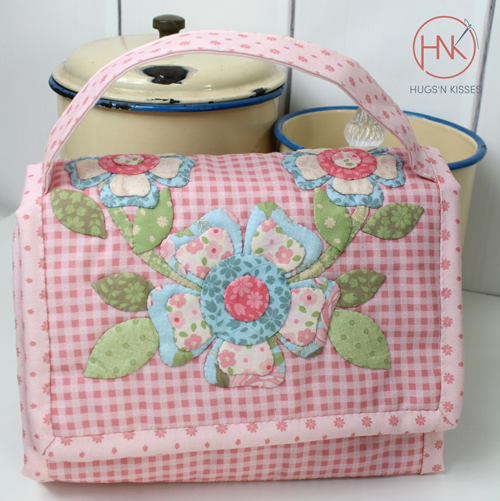
Complete all Embroidery, Applique, EPP honeycombs and Clamshell preparation as per the pattern instructions.
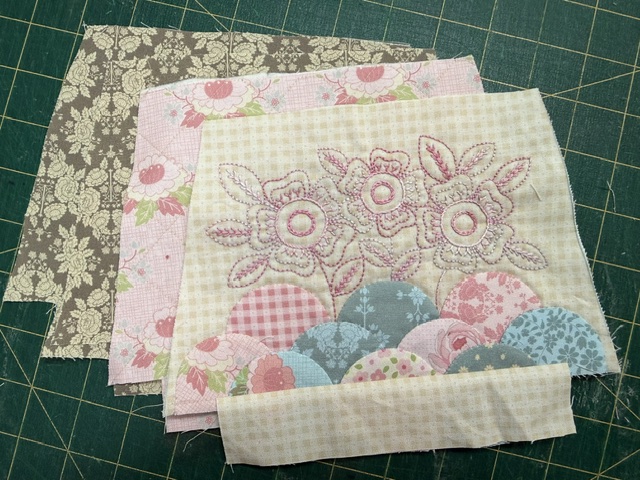
Once your embroidery is complete press well . Using small dots of Roxanne’s basting glue position and glue the clamshells over the transfer layout guide. The top row will be placed first Next position the bottom row over the top – the folded edges will cover the unglued edges of the row above.
Using your HNK appliqué needle and blending thread applique along the top of each row of clamshells.
Cut out the panel on the outer transfer line.
Place the 1 ½” x 6 ½” strip centred at the bottom of your panel right sides together. Stitch and press outwards. Your panel should now be the size and shape of Template A.

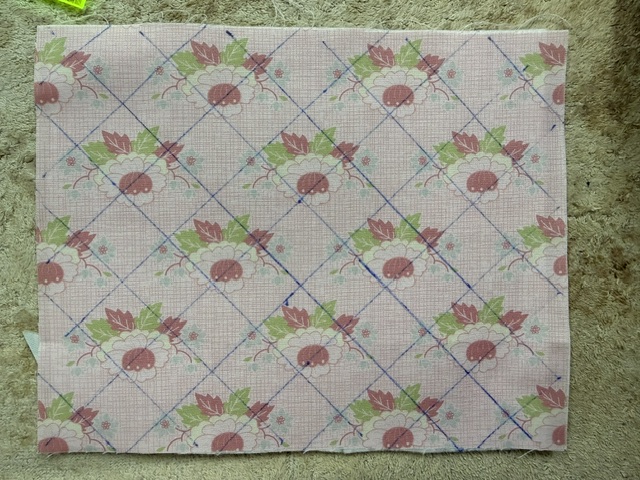
Fuse pellon/parlan to the wrong side of the two outer floral pieces. Mark and quilt as desired – I did a 1” diagonal cross hatch. Cut to Template A size. For each pouch you need a quilted outer, EPP Or emb outer and two lining pieces in Template A size.
Place the template A on top of your honeycomb panel and trim to size.
Trim two zippers to measure 6”.
Place a tab square right sides together on one end and stitch with a ¼” seam allowance – take care when stitching over the teeth. Fold out and press. Fold the raw end in to meet the end of the zip, then over again to the back meeting the stitch line. Edge stitch from the front.
INSERT THE ZIPPER PULL

Repeat the tab for the other end. Your zip should still measure 6” finished.

Repeat for the other zip.
Position a zip right sides together on the top edge of your embroidery panel. Place a lining Template A piece right side down on top. There should be a ¼” gap at either end. Using a zipper foot stitch through all layers. Press the two pieces outwards from the zip. Press the lining to the back.
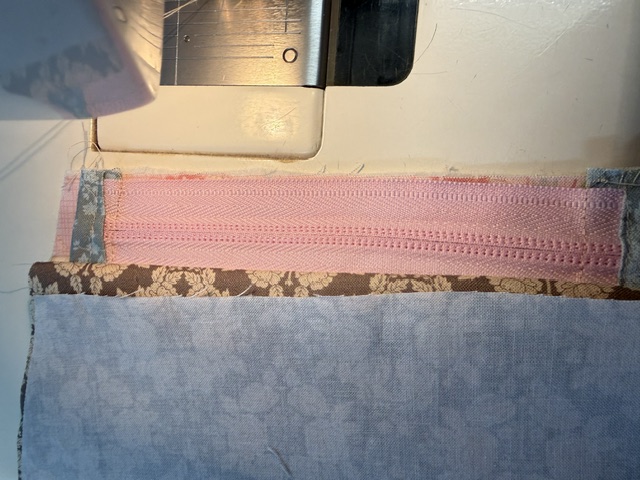
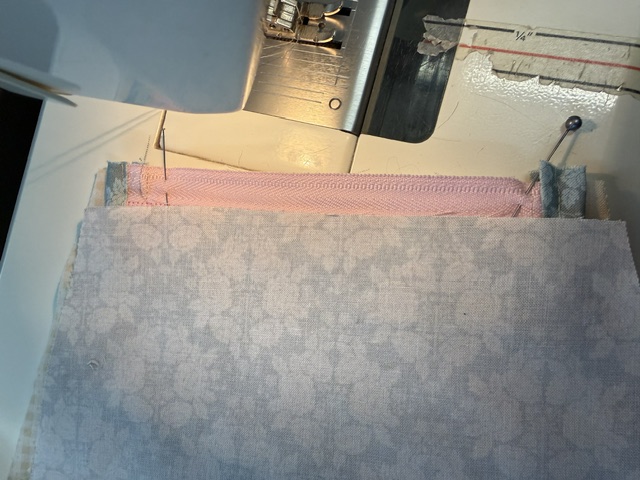
Repeat on the other side of the zip with a quilted outer Template A piece and a lining piece.
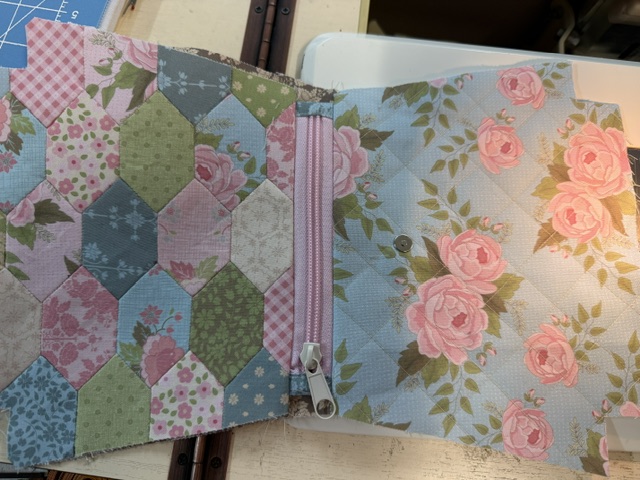

On the quilted side mark 1 ½” from the zip in the exact centre of the panel.
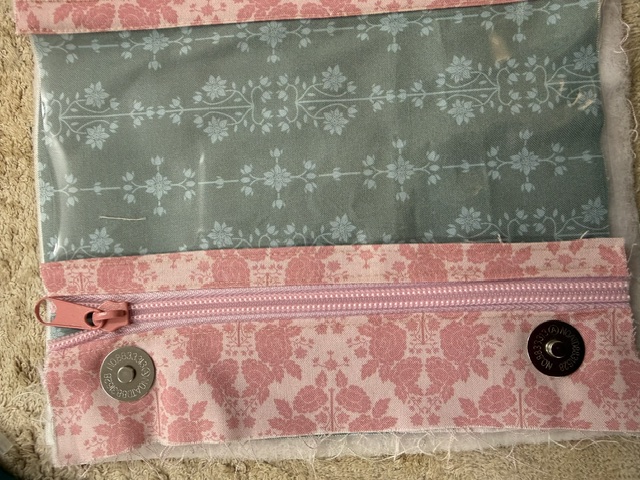
Insert one side of your small magnet – use the flat washer to mark the slit openings, carefully slit with a seam ripper or small sharp scissors. Pass the legs through the slit, place the washer over them and press outwards.
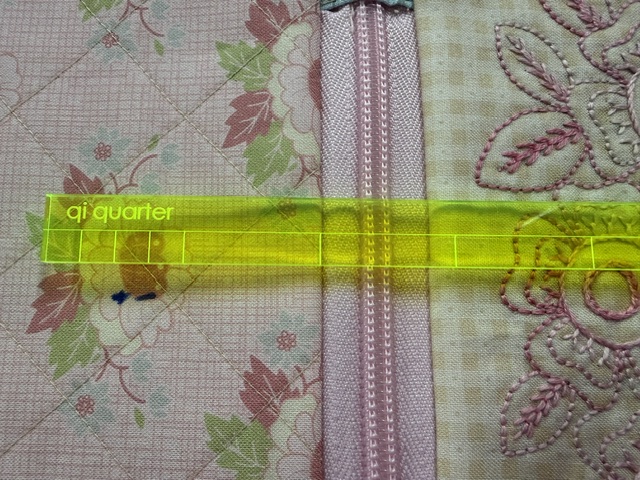
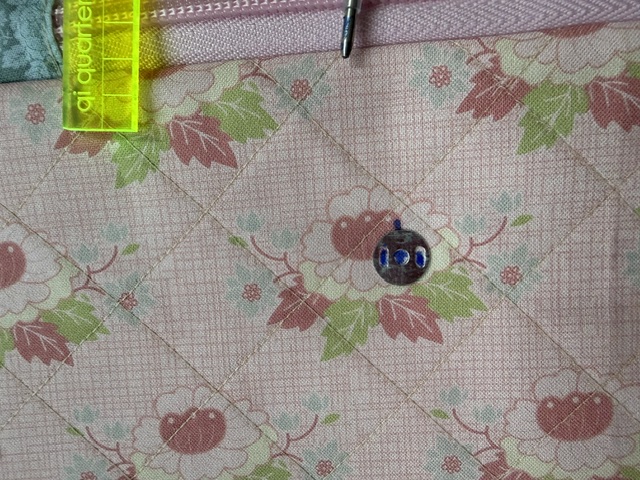
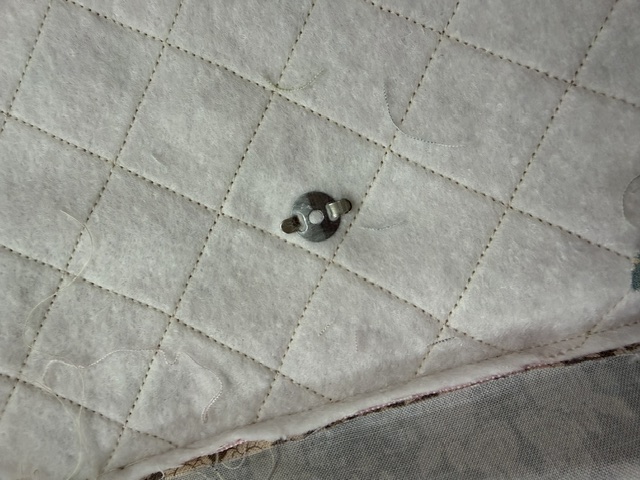
Fold so that the two lining pieces are right sides together and the two outers are right sides together. Have the zipper OPEN. Pin match the centre zip seams. Stitch down both long sides – taking care not to stitch through the zipper tabs as you pass through – the ¼” seam allowance should sit just next to the zip tabs.
Stitch across the outer bottom flat seam. On the lining bottom flat seam leave a 3” opening in the centre.

Fold the corners so that they are sitting flat and stitch across all four to form the box bottom.
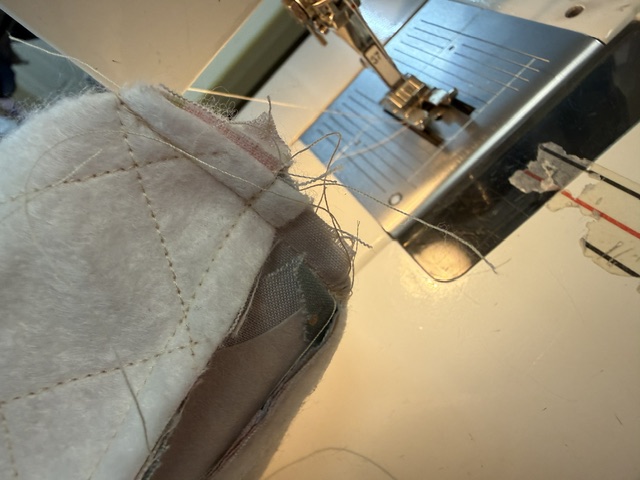
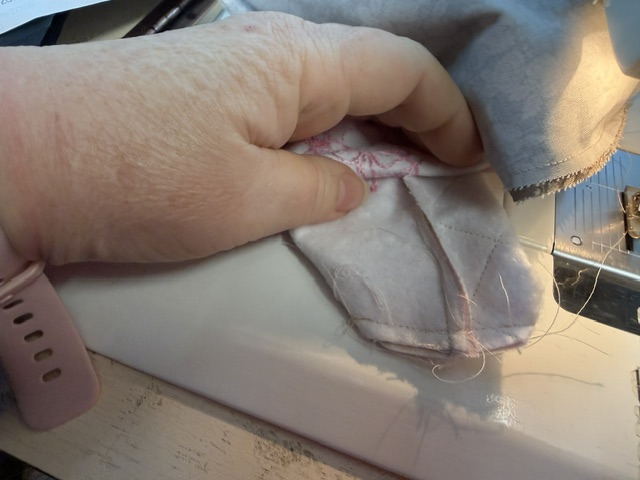
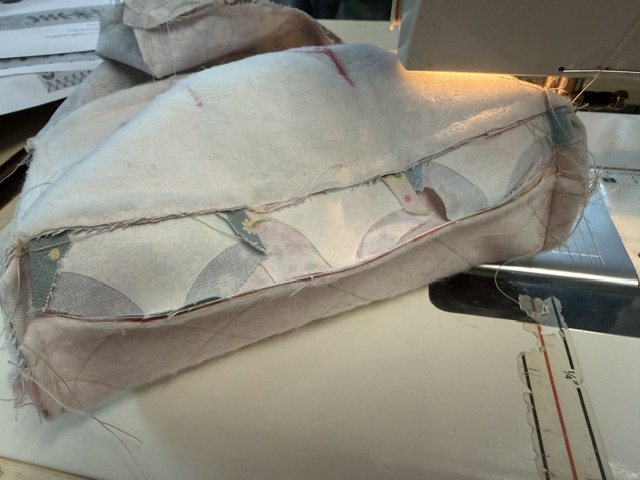
Fold to mark or measure to find the exact centre of the flat boxed bottom. Again using the washer mark slits for a large magnet and insert the male side from the right side of the bag (reach down through the lining opening) – fold out the pins to secure.

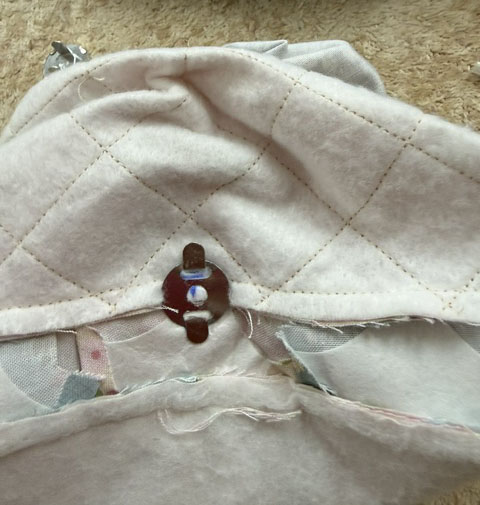
Turn the bag through the lining opening to the right side. Press and stitch the opening closed and then push it down into the bag smoothly.
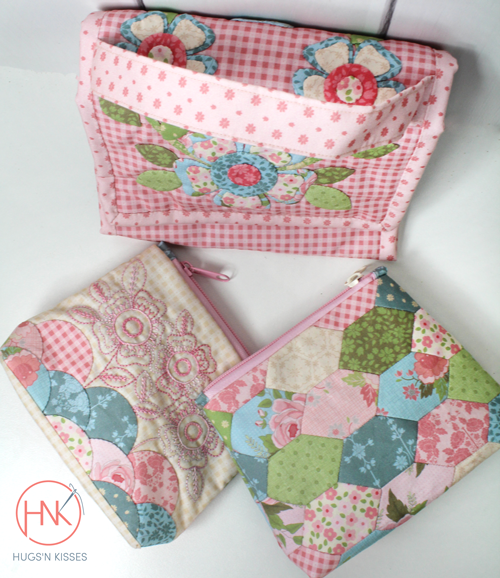
Repeat this process to make your second pouch. The honeycomb panel will be the outer side and the quilted panel will be towards the first quilted panel.
When marking the small magnet position just check by placing them side by side that you have them evenly matched. The other side of the small magnet will be inserted into this one so once in the pouch they will snap together. You will also want to ensure your two zipper pulls are at the same end.
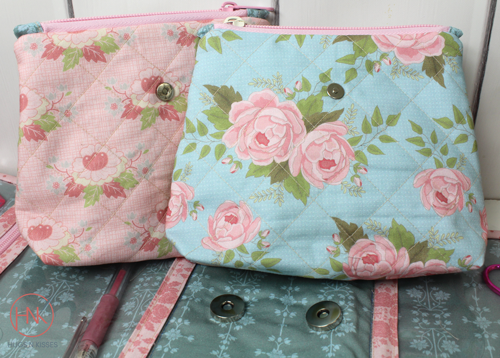
Pass the 1” strips of binding fabric through a ½” bias maker using steam or starch to hold the folds in place. Cut to measure six strips 7 ½” in length.
Fold the 2” and 3” strips in half wrong sides together. Open the 3” piece and fuse two small 1” squares of pellon to one side 1” from each end. Measure, mark and insert the male ends of a large magnet at each end. (note: i did this at a later stage, but after making it, I felt it would be best to put these magnets in at this step instead


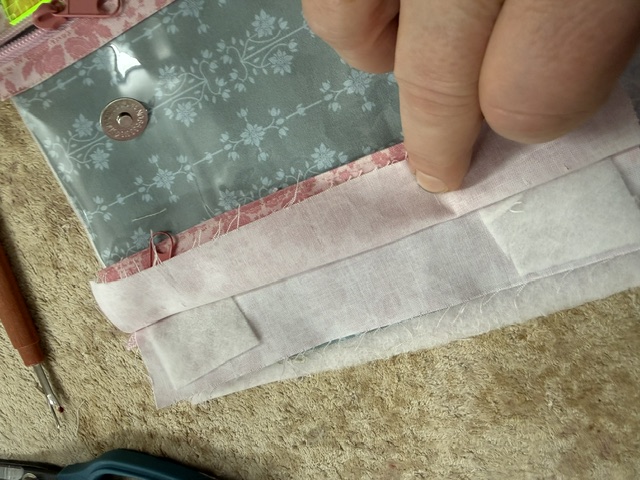
Trim the outer applique panel to size. 7 ½ “x 20 ½”
Place the inner fabric panel on a cutting mat with 1” markings lined up with the mat lines to keep everything square and straight. Using a water soluble marker mark the following lines on the right side of the panel.
Place the inner fabric panel on a cutting mat with 1” markings lined up with the mat lines to keep everything square and straight. Using a water soluble marker mark the lines as per the diagram in the instructions on the right side of the panel.
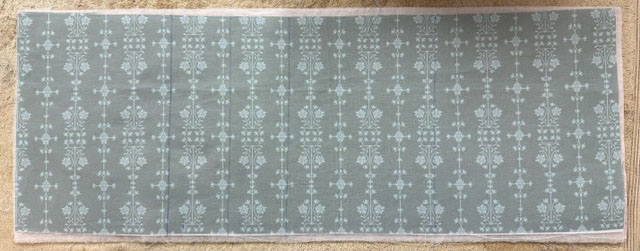
Position the small vinyl piece butting up to the first line on the left. Position the larger vinyl panel butting up to the last line on the right. Note: images below show the clean vinyl sitting on top of the blue stripe inner fabric - as it is a stripe so it helps to keep everything lined up and straight with the stripes. The first several steps are sewing through the vinyl only until advised to join both layers.
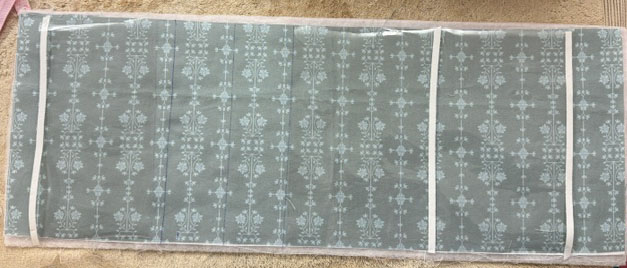
Place a line of double sided water soluble tape down on top of the vinyl at marked line A,E and F.
Remove the paper and position a 7 ½” piece of zipper right side up on top of each piece of tape ensuring the zip teeth are sitting right on the tape.
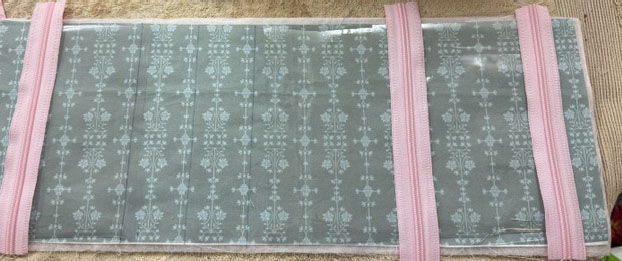
Place a piece of tape on each edge of the zippers and also on the remaining marked lines B&D.
Place the folded 2” strip on the first tape with the folded edge against the zipper teeth. Place the 3” folded strip in the same manner on the last piece of tape on the right hand end.
Place a bias piece on all remaining strips of tape.
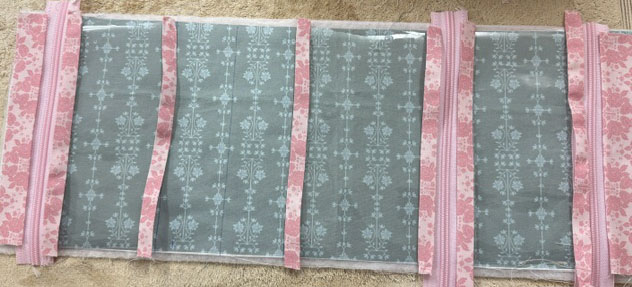
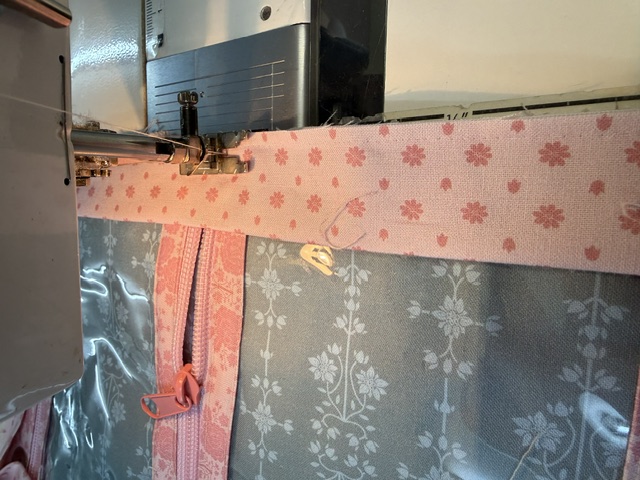
Take the VINYL pieces to the machine and using a zipper foot edge stitch down the edges as marked in the instructions diagram.
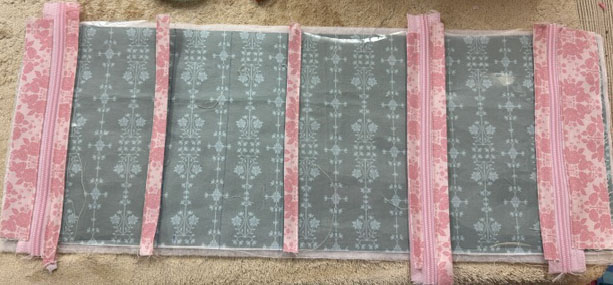
Carefully from the back use a quick unpick or sharp pointed scissors to cut away the vinyl (and tape) from behind the zipper teeth on each zip
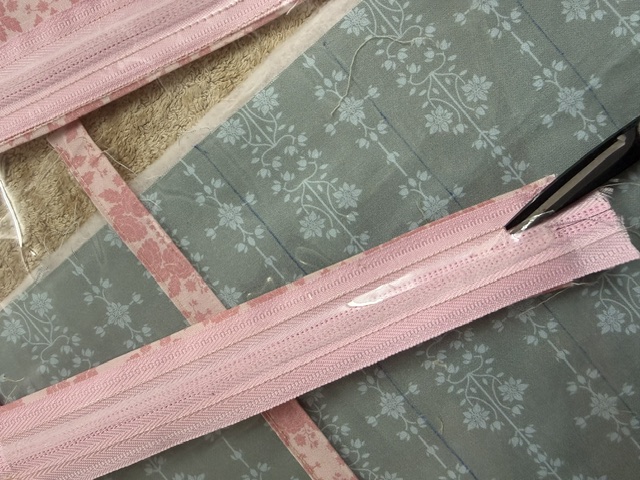
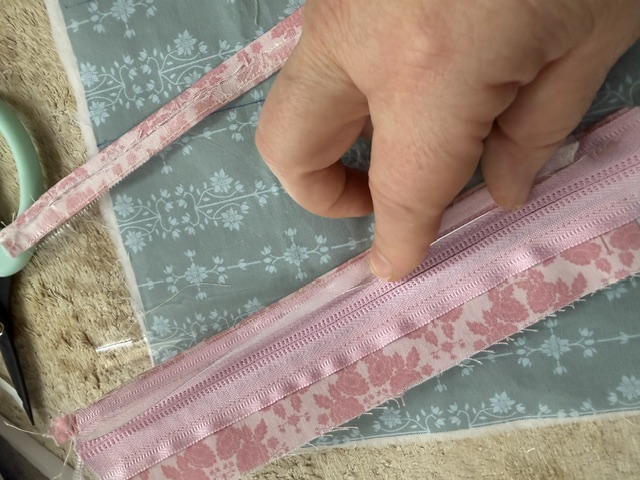
Insert all of the zipper pulls now.
Place the vinyl sections back onto the inner fabric panel as before. Klip the edges to hold in place. Now you will edge stitch the remaining pieces as per the diagram in your instructions. You need to carefully check which seams you are edge stitching so you don't stitch your pockets closed!
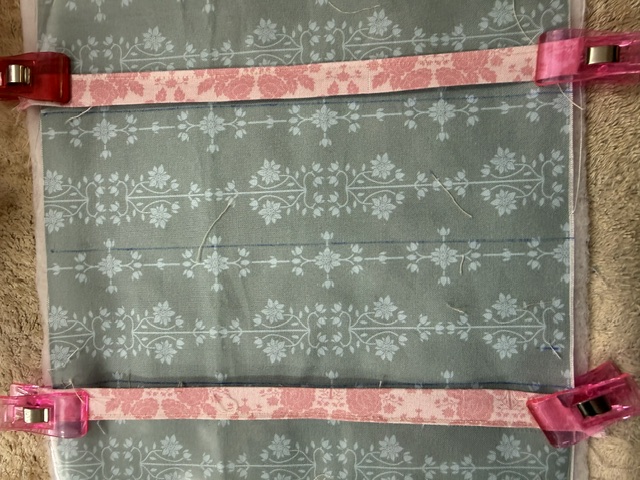
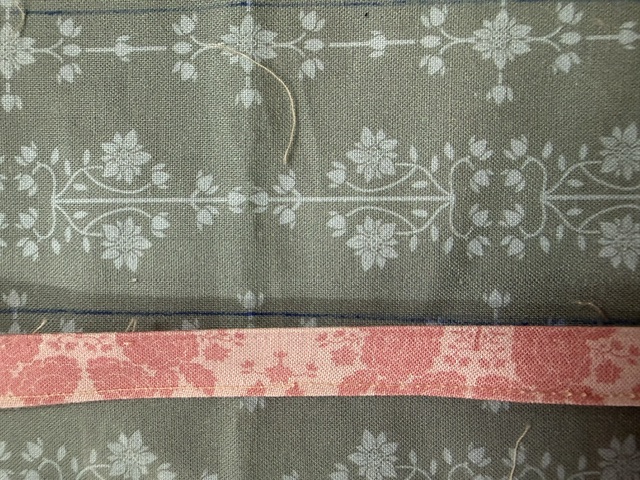
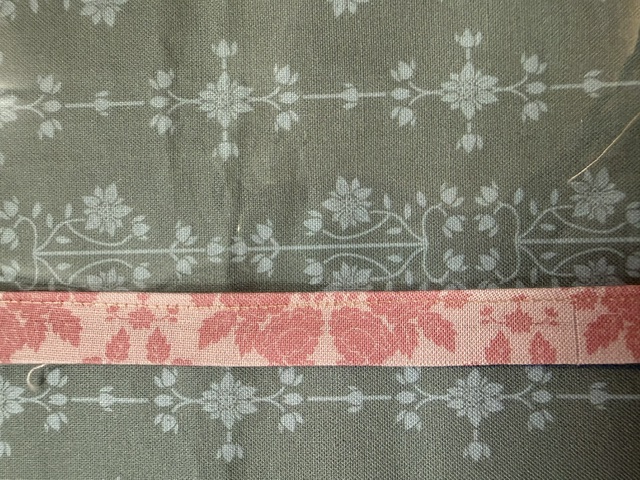
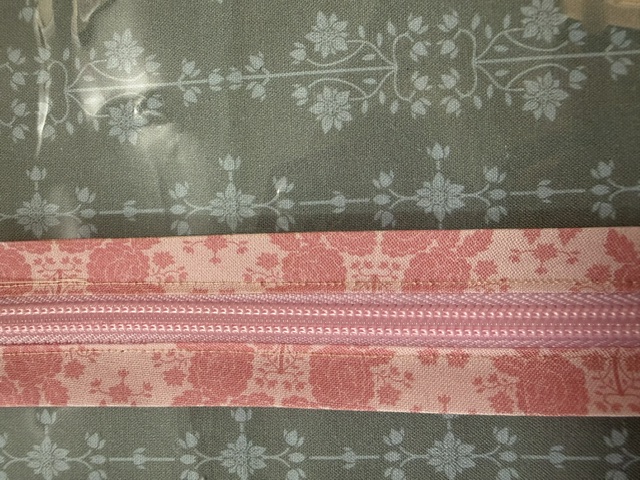
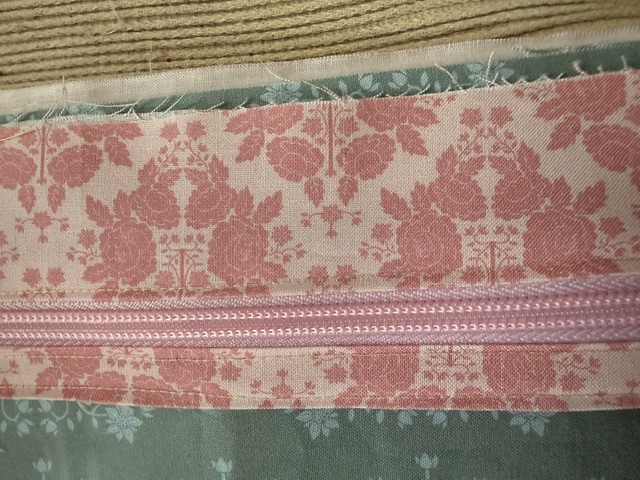
Baste around the outer edge and trim all protruding zips or bias strips to size.
Find and mark the centre of each side of Line C. On the back side of the inner fabric panel at this point fuse a small 1” square of pellon/parlan. Insert the female side of two large magnets (this is what your zipper pouches will snap onto).
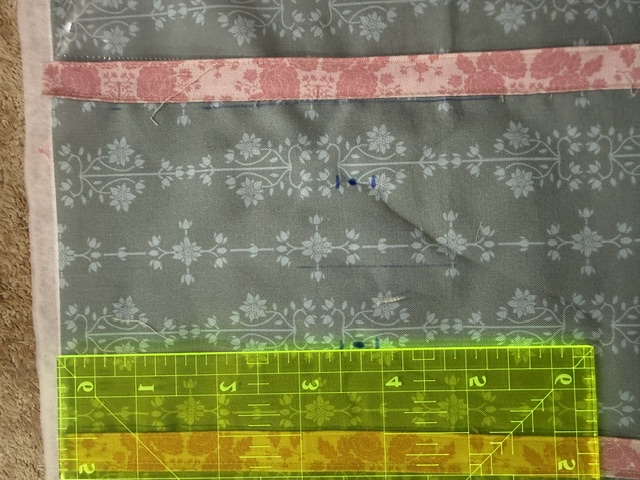
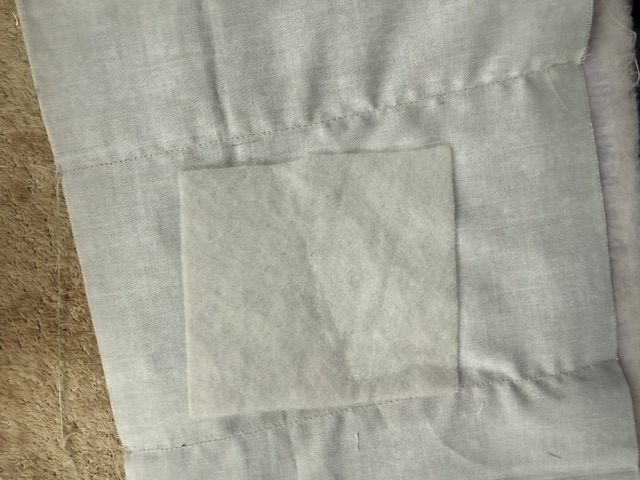
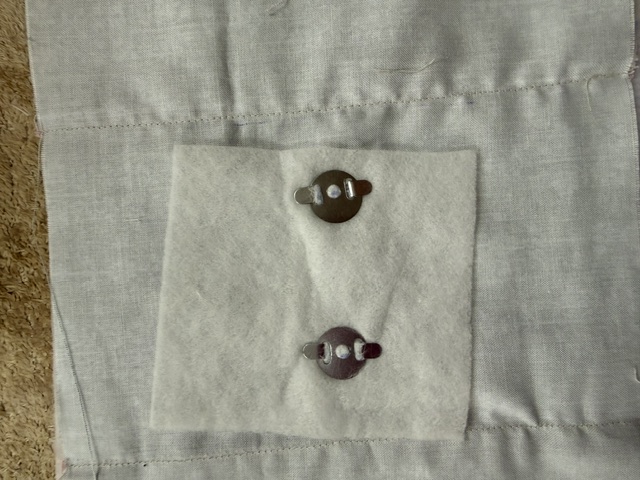
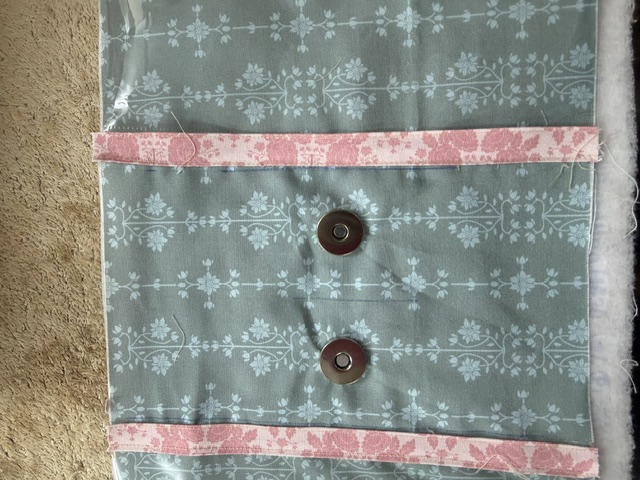
Place the inner panel wrong sides together with the outer panel. The applique should be at the end with the two magnets.
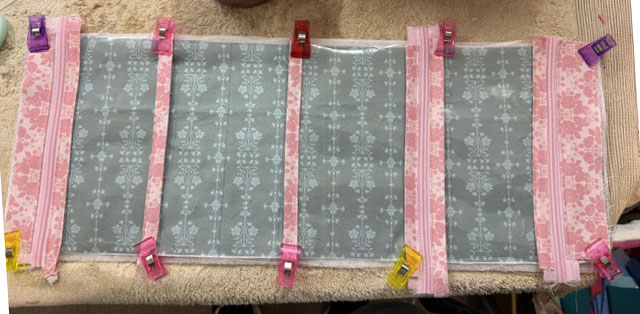
Stitch in the ditch down both sides of the C line.
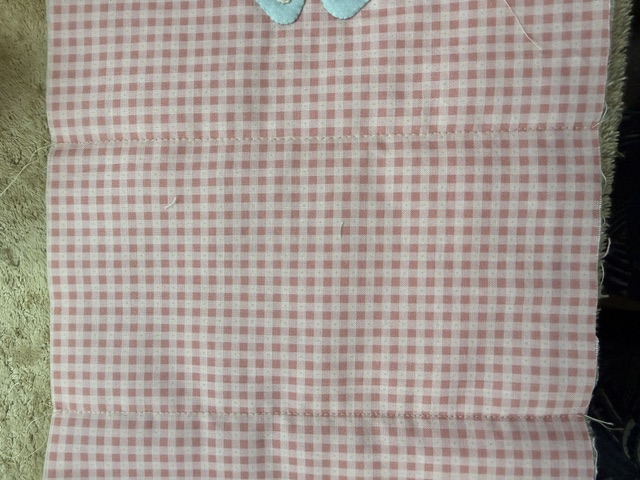
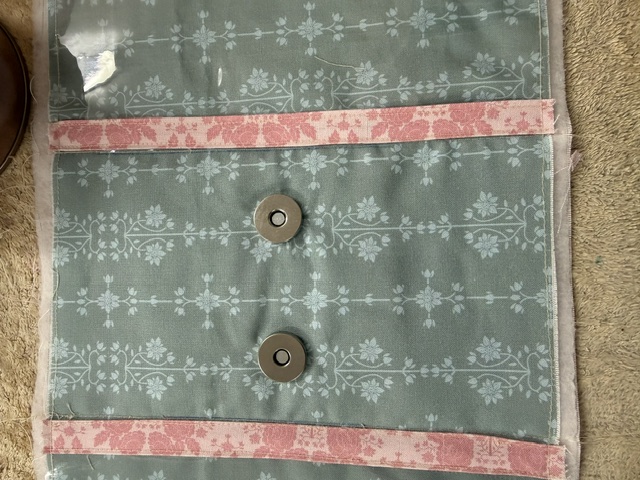
Place your zipper pouches in position on their magnets – you may like to fill them with something so they sit full and upright.
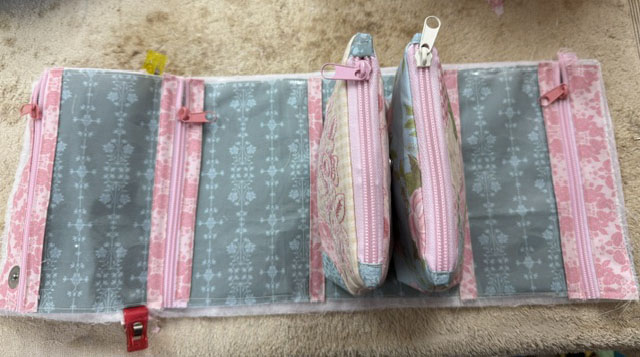
Mark with a blue water soluble marker the two protruding parts of the end magnets (the maie parts).
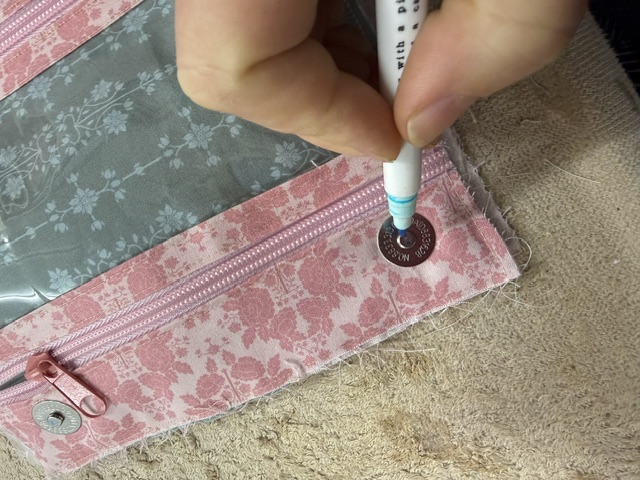
Fold the short end of the wrap to the pouch and then the long end over the top and down the other side. Press the magnets into the outer fabric – it should leave a blue mark where it sits. This is your positioning mark for the other half of your large magnets. Carefully insert them through the outer layer only
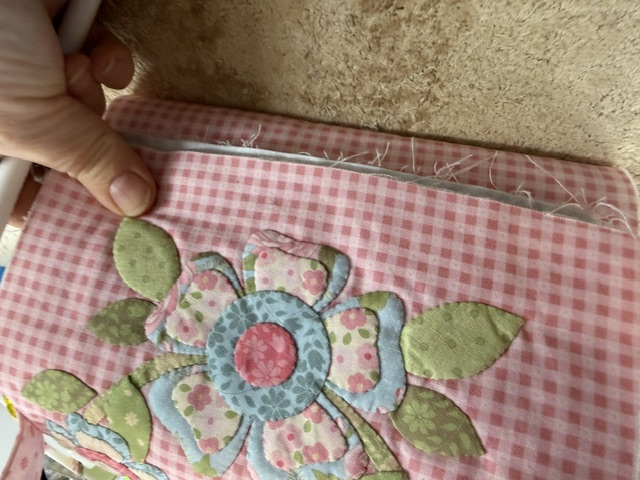
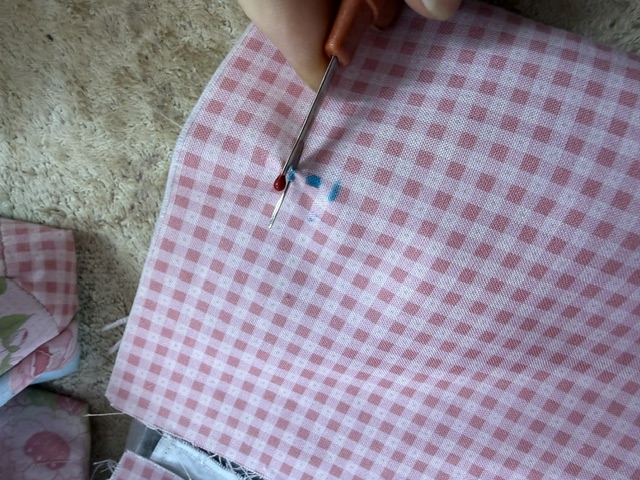
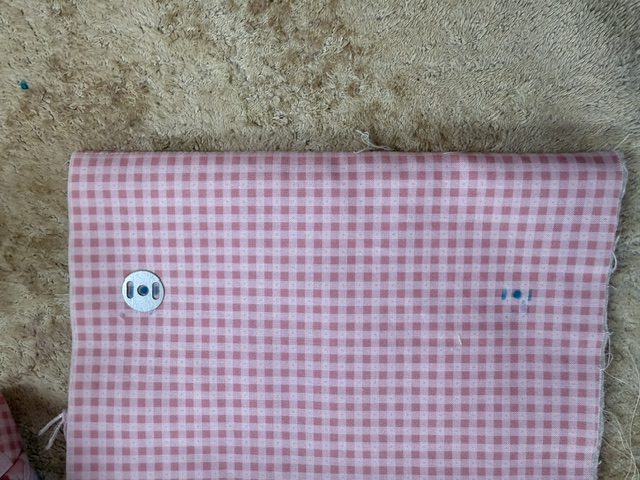
Baste all outer edges of the two panels together and trim all edges evenly.
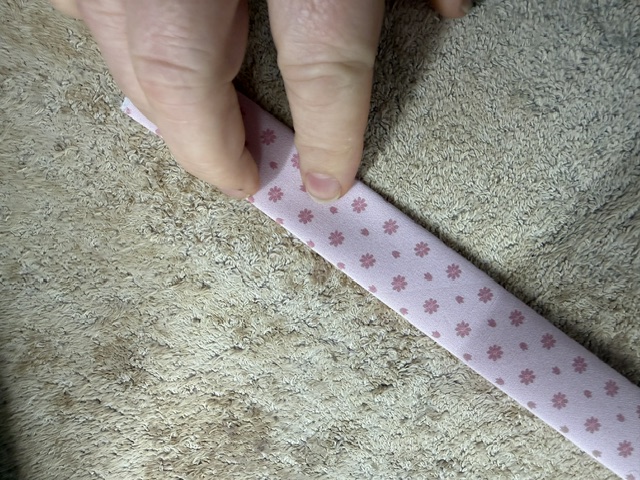
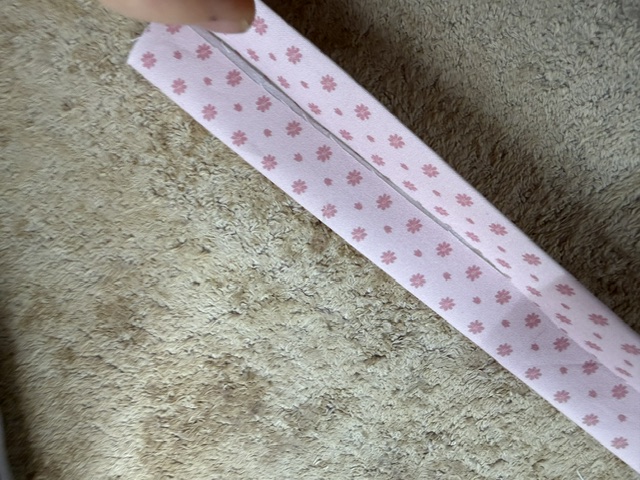
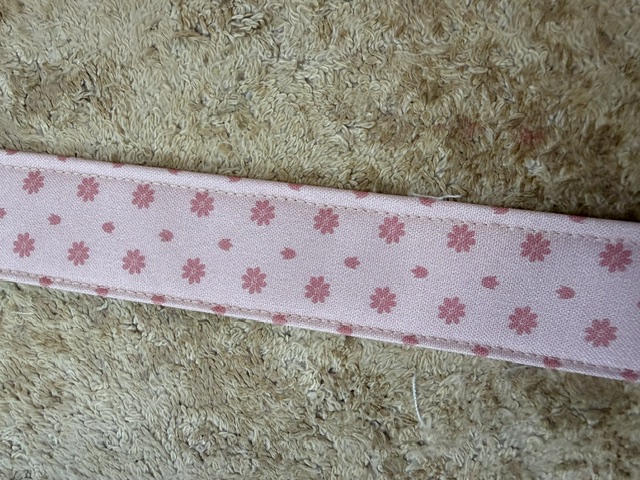
Handle: Fuse stabililser to the back of your handle piece. Fold the handle strip in half, then open and fold both edges to the centre. Fold in half and edge stitch down both sides.
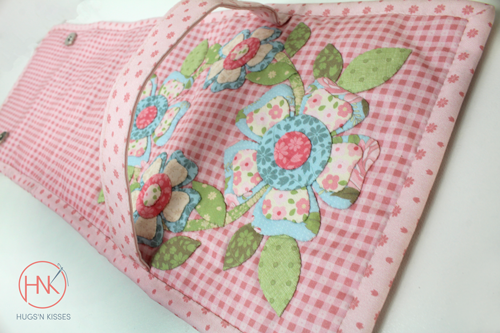
Close the bag and mark the top centre on the outside – it should be approximately over the two smaller flowers in the centre of your applique. Baste into position at both edges.
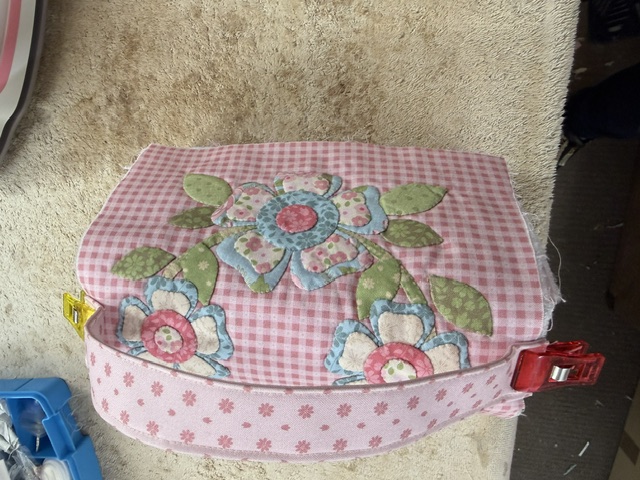
Binding:
Join the binding strips with a bias join. Press in half lengthwise.
Attach binding to the inside (vinyl side) of the wrap mitring the corners and finishing with a mitred or straight join. Turn to the outside and slip stitch into place using a strong matching thread to the binding. Doing it this way avoids having to hand stitch through vinyl.
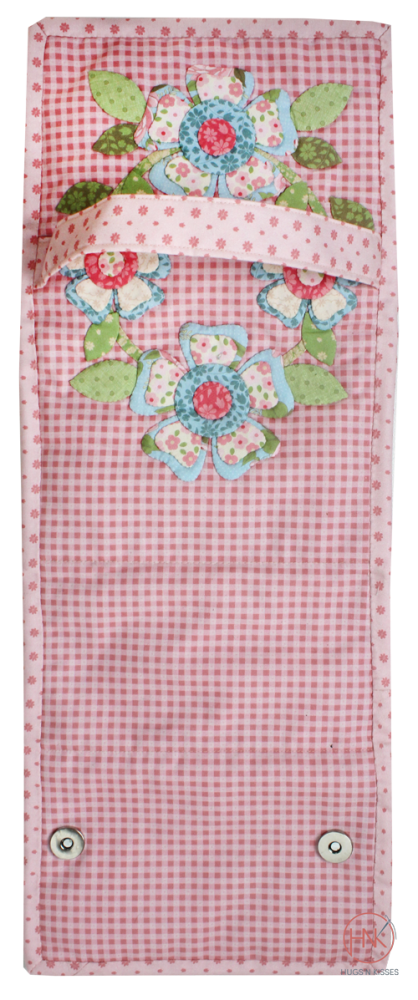
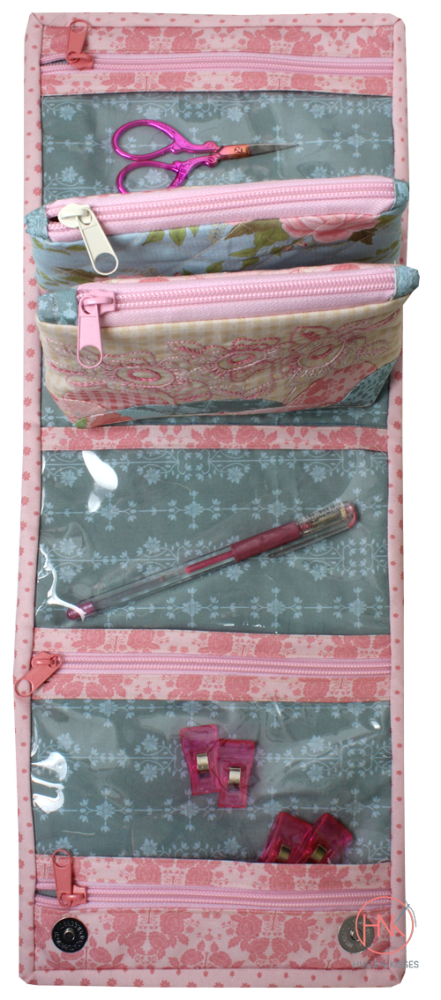
And your project is complete and ready to fill.