Tune in to Live@7withHelen Thursday nights at 7pm on Facebook and YouTube for great deals, demos, sneak peeks and more.

Dressed to Impress step by step tute
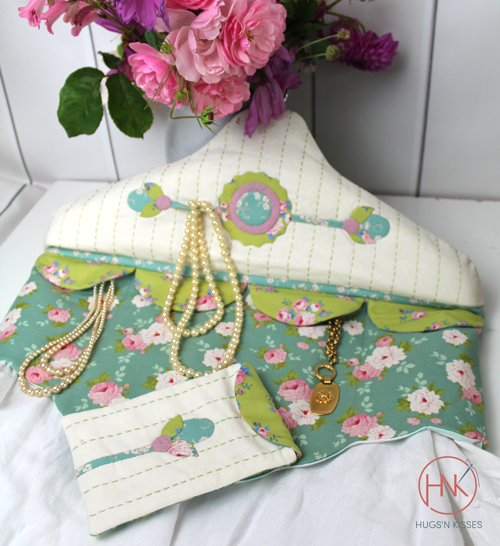
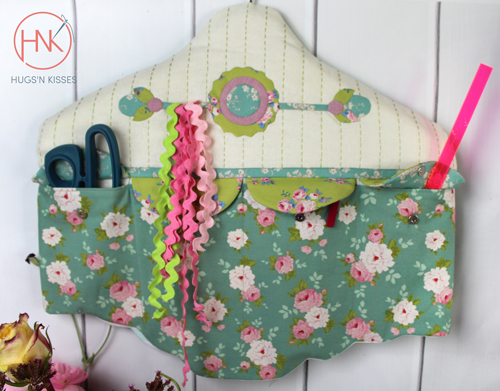
For those who like visual aids when making their projects this tutorial accompanies the Dressed to Impress Tilda Club project pattern.
Fuse HNK stabiliser to the back side using a hot steam iron or following manufacturer’s instructions to the pocket fabric (F).
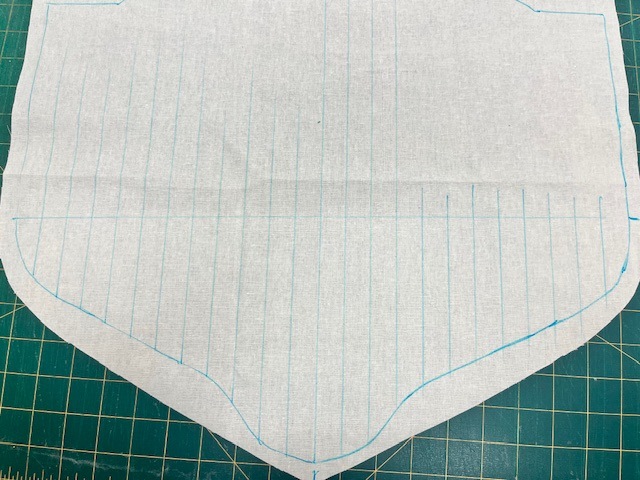
Fold the large linen piece in half and place Template A on the fold. Mark the outer template line with a blue water soluble pen. Flip and repeat on the opposite side of the fabric. Repeat with the backing fabric piece. (C) Mark the quilting lines and the applique placement line on the linen panel only
.
Repeat with the small linen piece and Template B.
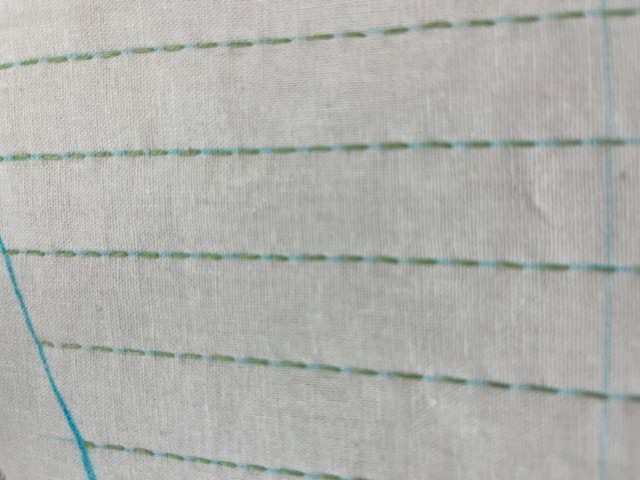
Using two strands of a matching Cosmo stranded thread or Perle 12/16 thread and a HNK stitchery needle quilt a running stitch on each marked quilting line. You may also wish to quilt the backing piece.
Complete all applique preparation
Hanging loop: Pass the 1” x 6” strip (I) through a ½” bias maker. Spray with starch first then press well as it passes through.
Fold in half again (wrong sides together) and edge stitch to keep closed.
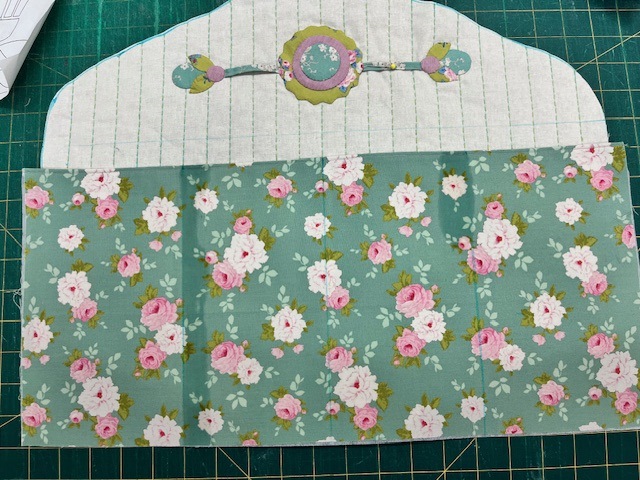
Once all pieces are prepared you will place them into position onto your background fabric pieces using the layout guides you marked or the printed template guide. The hanging strip will be placed first.
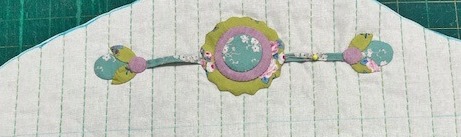
Using Roxanne’s basting glue position and glue baste all of your prepared shapes in order from bottom to top. Glue only the two ends of the hanging strip and under the centre flower. The parts between applique flowers will be loose. Press to set the glue.
Pocket flaps:
Place Template C on the wrong side of the pocket flap strip and using the blue water soluble pen mark four templates. Make one template D.
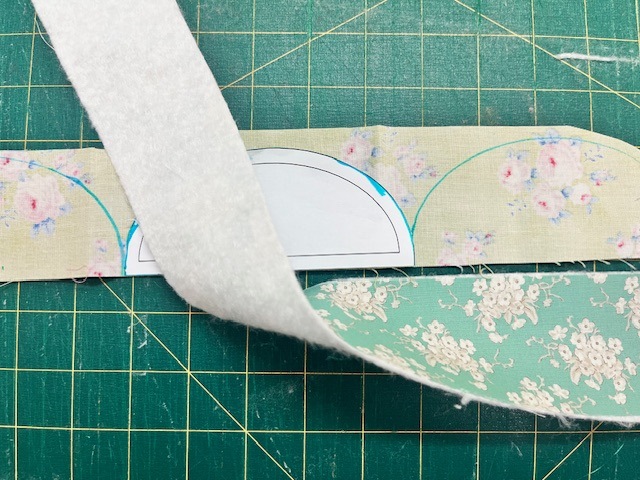
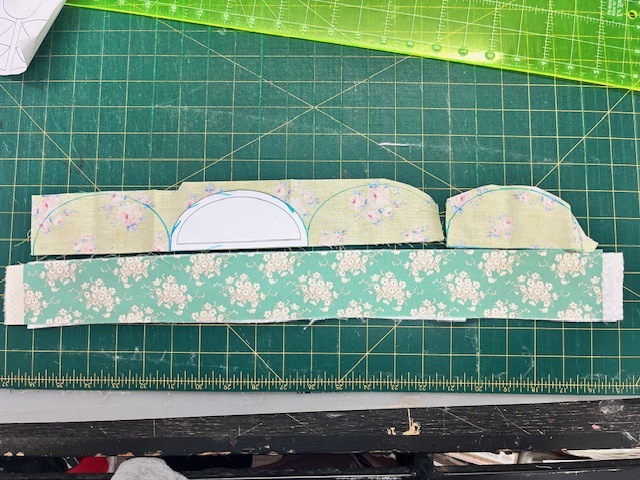
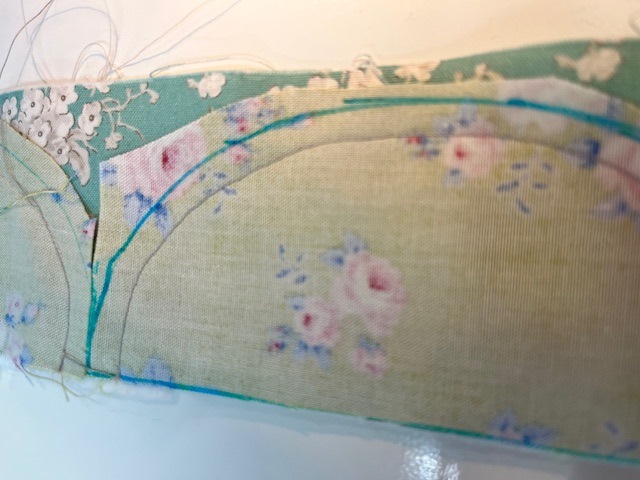
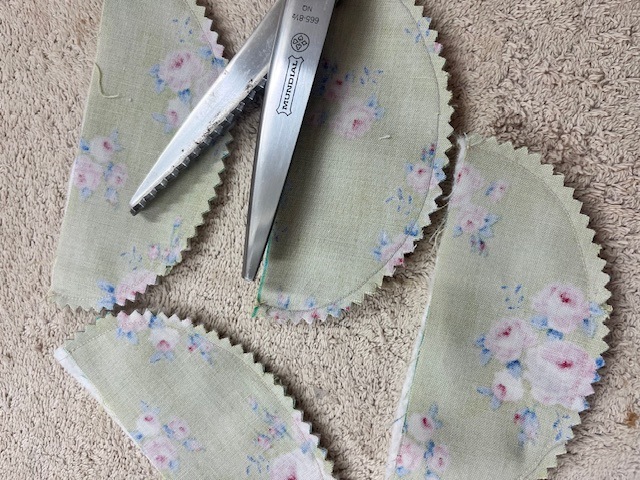
Place right sides together with the flap lining strip. Using a shorter stitch length stitch around each curved marked edge with a ¼” seam allowance. Cut on the marked lines and either clip the curves or use pinking shears to clip the seam allowance. Turn to right side and press well.
Pocket:
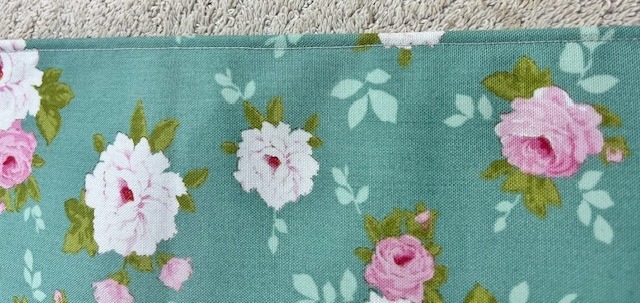
Double fold and press a ¼” seam at the top of your stabilised pocket piece (G). Edge stitch.

Position pocket right side up on the right side of the linen front with bottom edges even. Using a long ruler and blue water soluble marker mark the centre line. Place the pocket flaps along the top edge evenly. Mark the pocket lines to the left and right of the centre.
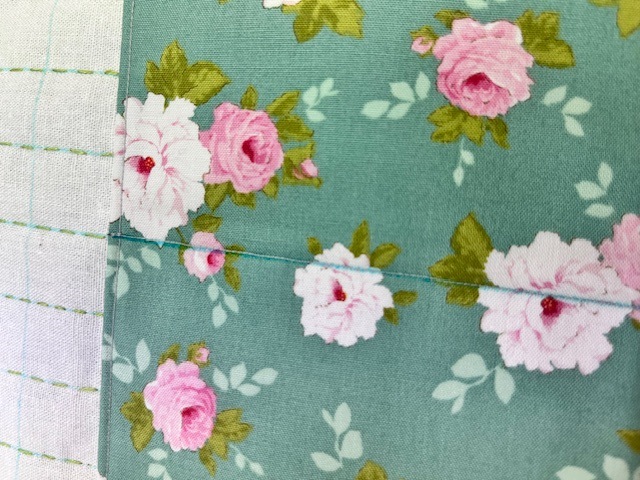
Stitch from the top edge of the pocket to the bottom on each marked line to form the individual pockets. Stitch baste down both edges also.
Flap closures: You can either insert magnets or use Velcro hook and loop tape as pocket closures. Or you can just leave the flaps loose if you’re not planning on traveling with the hanger.
For magnets: Position and insert a magnet in the centre of each pocket approximately 1” from the top edge. Position and insert the opposite side on the wrong side of each pocket flap approximately ½” from the bottom curved edge. Place the two together.
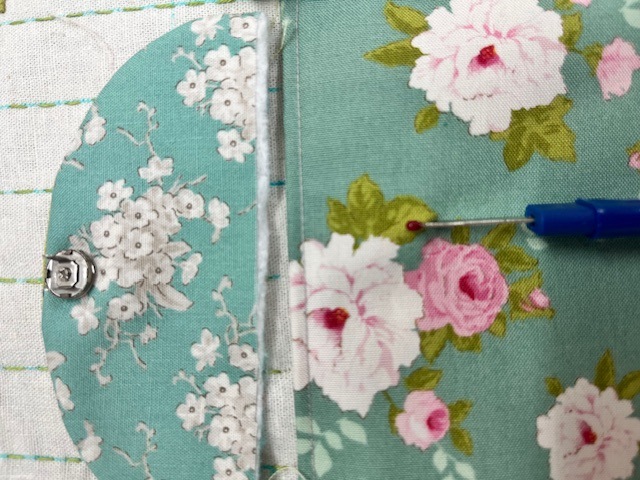
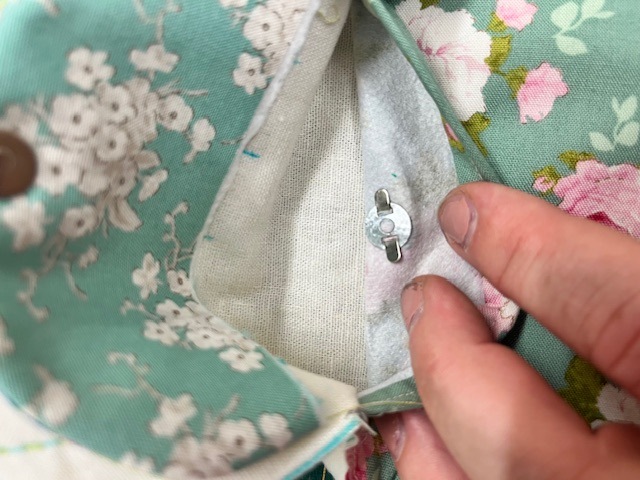
Place binding strip (J) wrong side down along top edge of pocket flaps. Stitch with ¼” seam. Fold raw edge to meet raw edges then over again. Press and pin. Edge stitch.
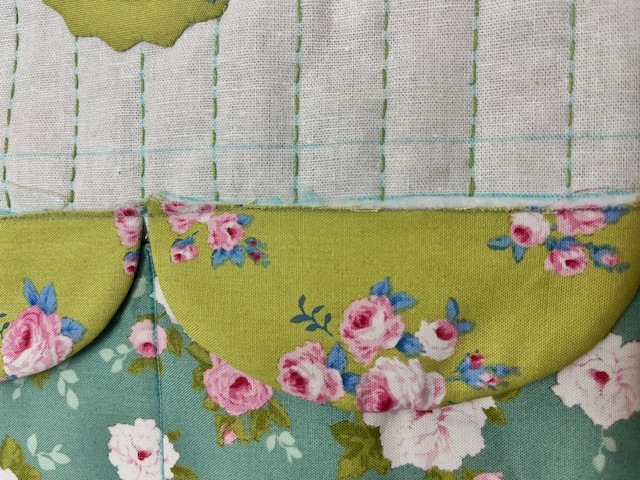
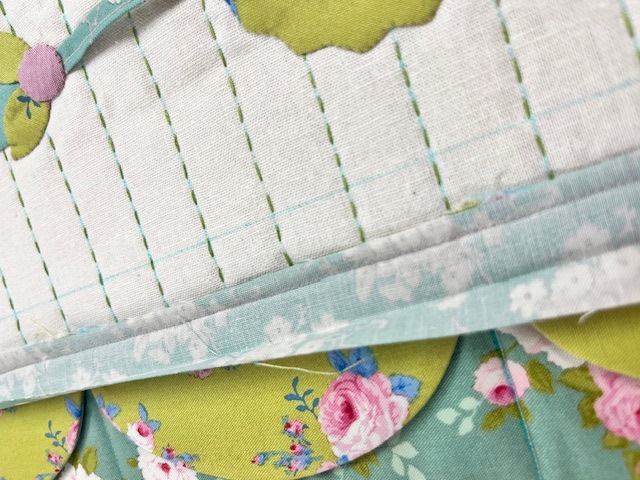
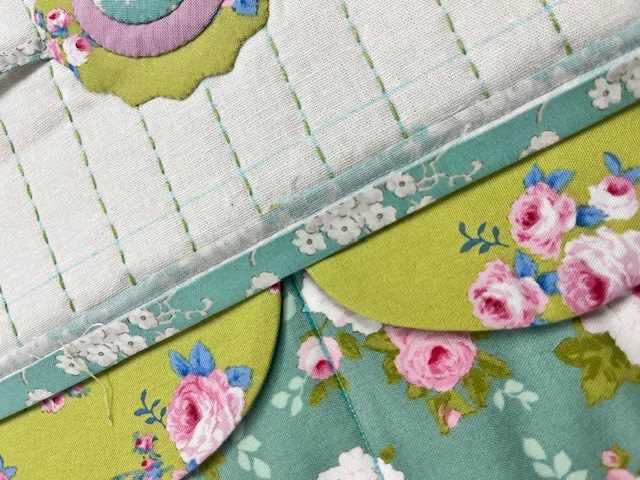
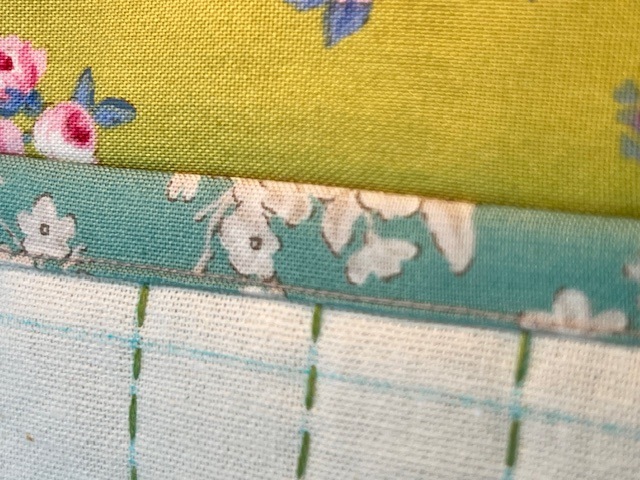
Turn the complete panel to the wrong side and trim the pocket to match the linen fabric (Template A).
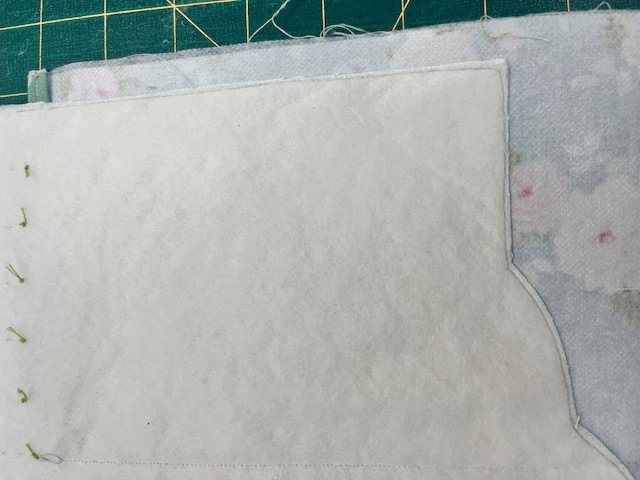
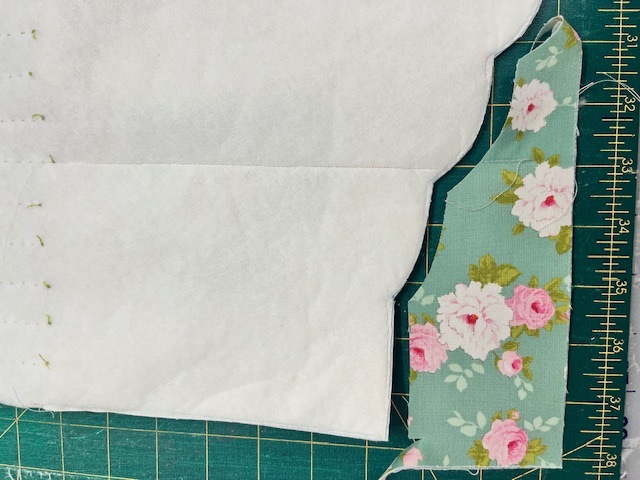
Trim Piece C (backing fabric) to the marked Template A line.
Place the two panels right sides together and stitch around outer edges using a ¼” seam allowance. Leave the bottom fluted edges open and a ½” opening in the centre top.
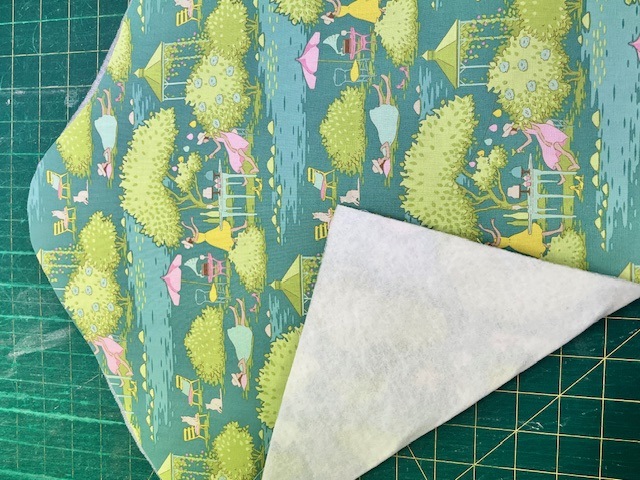


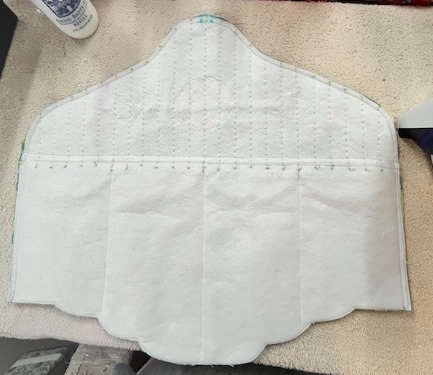
Join the two lining Template A pieces together in the same manner BUT leave a 4” opening down one side.

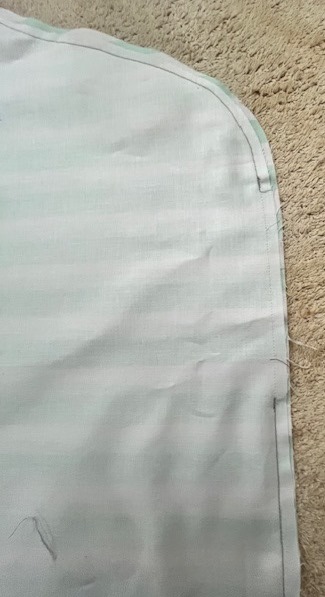
Clip curves and turn the outer piece to the right side. Press out all seams well.
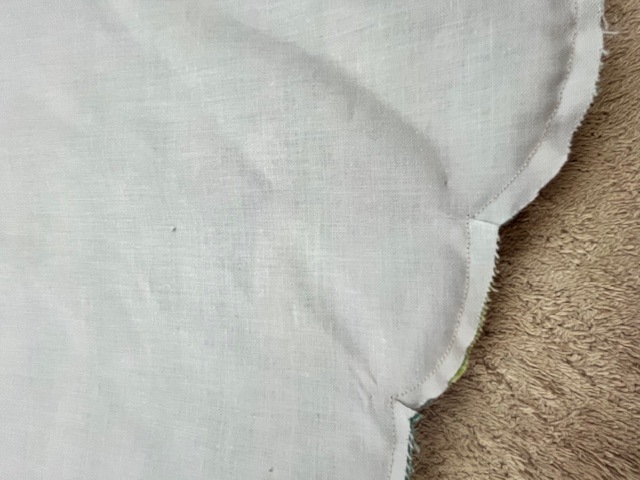
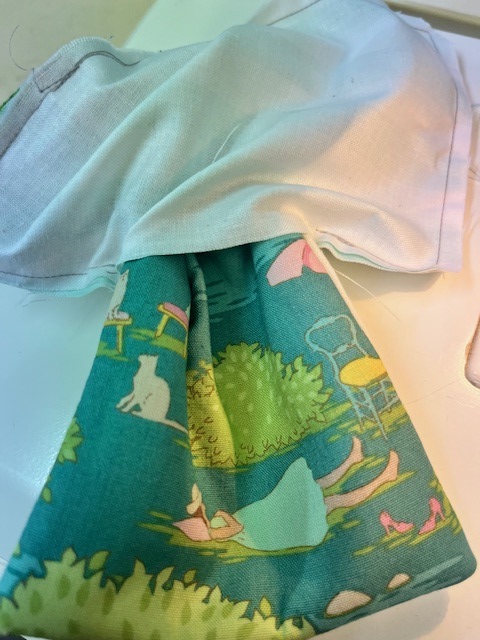
Place the lining (right sides in) over the top of the outer cover (right side out) and pin match the side seams at the bottom. Stitch around bottom edge using a shorter than normal stitch length around the curves. Clip into each inner point and around the curves. Turn to right side through the opening in the lining. Push out and press all seams well. Slip stitch the opening closed. Push to the inside of the outer cover. Press well.


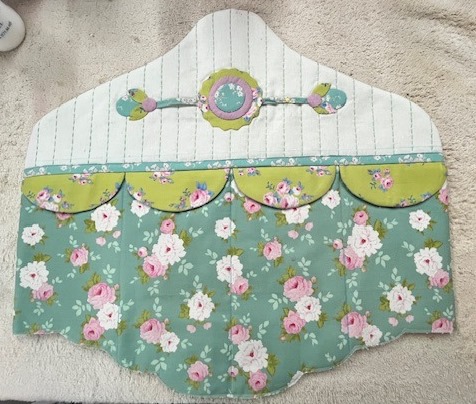
Insert the metal hanger through the opening at the top of the cover
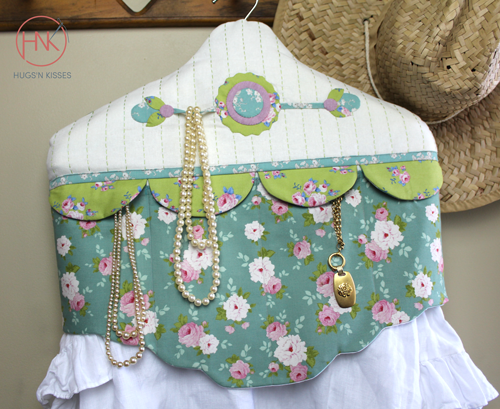
Pocket bag:
Place the quilted and appliqued linen piece (B) and the backing fabric piece (C2) right sides together and stitch a ¼” seam around three sides leaving the top open. Clip corners, turn to right side and press out seams well.

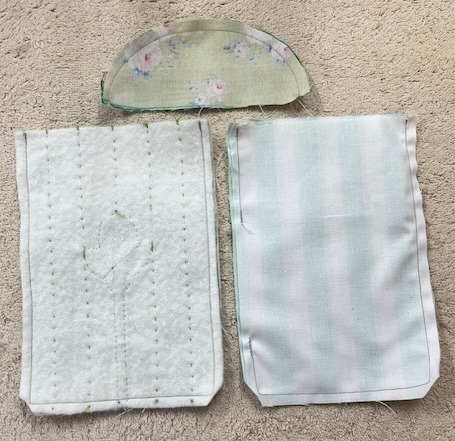
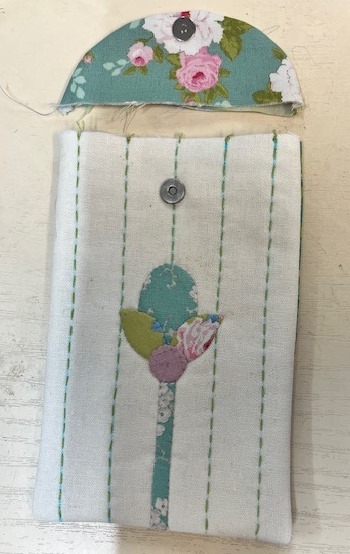
If desired insert a magnet into the flap and bag front as you did for the main bag.
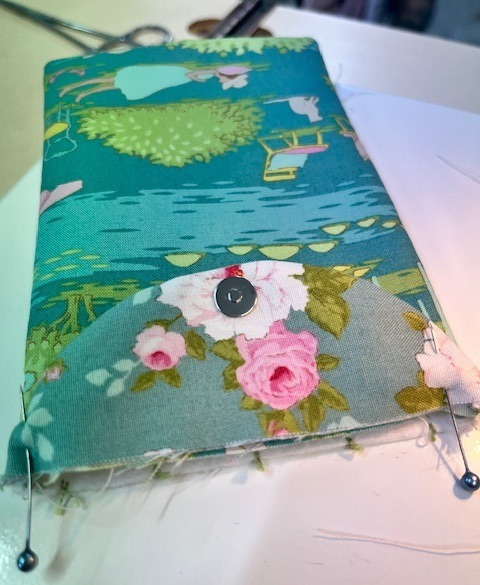
Place flap right side against the backing fabric with top raw edges even and baste.
Stitch the two lining pieces (E) right sides together leaving a 3” gap in one long side and the top edges open.
Place outer bag inside the lining bag (should be right sides together) pin matching the side seams.
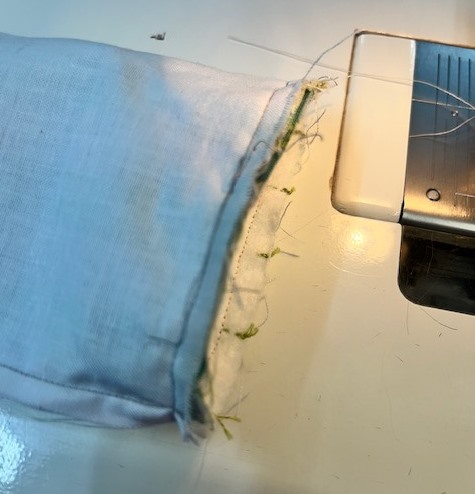
Stitch around the top edge with a ¼” seam. Turn bag to right side through the lining opening. Press well and slip stitch opening closed. Push inside the bag and press well.