Tune in to Live@7withHelen Thursday nights at 7pm on Facebook and YouTube for great deals, demos, sneak peeks and more.

Mclarenvale Minaudiere step by step tute
A step by step tutorial with photos to assist in the making of the Mclarenvale Minaudierre project pouch - pattern will be available here
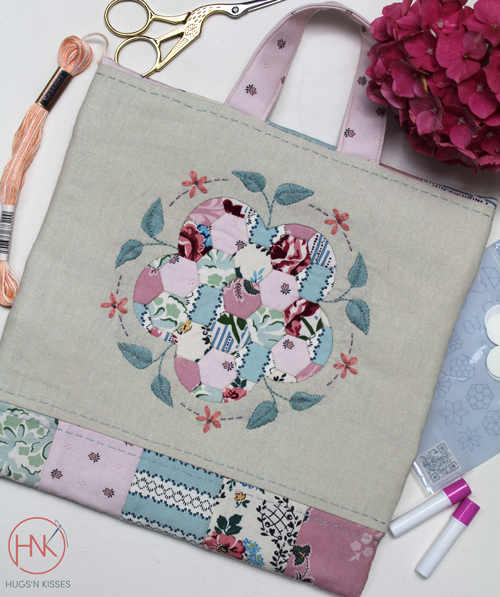
Transfer the design and make the hexie panel as per the instructions.
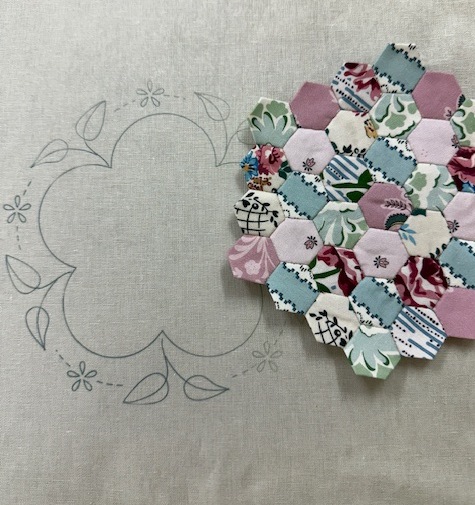
Cut out the centre of the flower shape leaving a 1/4" seam allowance inside the line. Clip carefully almost up to the line. Turn to back and glue over the seam allowances to make a smooth cutout with no line showing on the front.
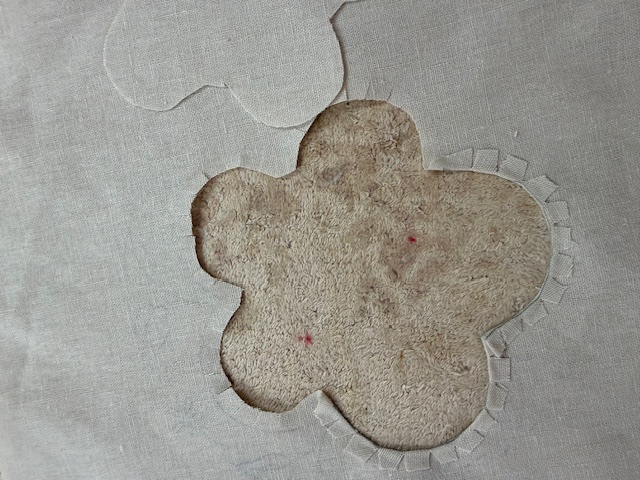
Position the hexie panel centrally underneath the cutout and glue baste into position. Stitch by hand or machine to secure
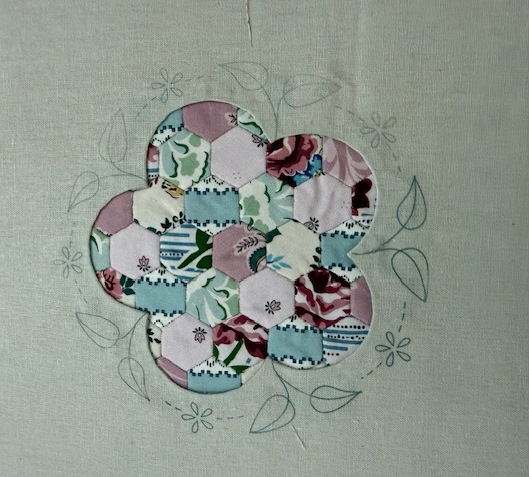
Place into your embroidery hoop and complete the embroidery.
Trim the panel back to measure 8 ½” x 10 ½” ensuring your design is centred
Layout your 15 x 2 ½” fabric squares into three rows of five. Join with 1/4" seam.
Press seams in each row in opposite directions.
Join two rows together
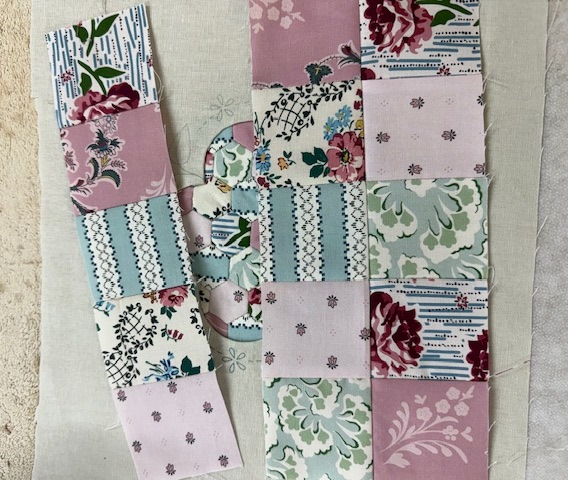
Attach the double row to the bottom of your applique panel. Press to the panel
Handle: Fold the handle strip in half wrong sides together and press. Open out and fold each raw edge into to the centre crease. Press. Fold in half again. Edge stitch down each edge of the strip.
Position the handle centrally onto the top edge of your linen panel with raw edges even.
Place the remaining pieced row of squares right sides facing on top. Stitch—securing the handle in between

Fuse lightweight batting stabiliser to the back of your complete panel. Trim to size if necessary and stitch the running stitch accents if desired.
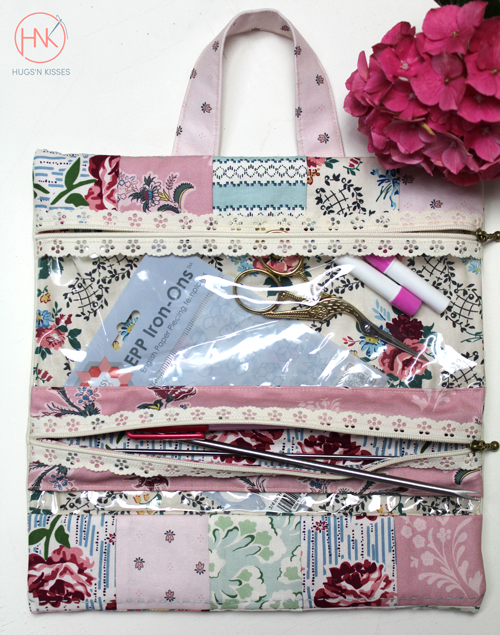
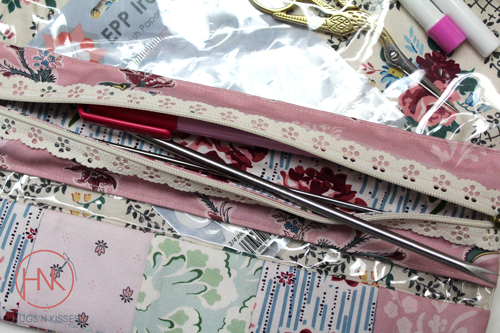
Tool pocket: Place the two tool pocket pieces right sides together and stitch down both long sides. Turn through the short end openings and press well with the seams at the sides. Fold both long edges to the centre and press.


Place double sided water soluble tape on the edge of each long side. Remove paper cover and position lace zipper over the top and secure on the glue strips. (or just pin) Open the lace zip and using a zipper foot stitch down each side ¼” from the zipper teeth catching the fabric below. Close zipper and trim excess zip from each end.


Place a row of double sided tape 1” from the bottom edge of your vinyl piece. Place it on a cutting mat to ensure the line of glue tape is straight and square. Remove paper and position the tool pocket centrally on top (the bottom edge will be approx. ½” from bottom of vinyl. Edge stitch down both sides of the pocket to secure


Lining, join the two pieces of lining together leaving a 3” opening in the centre. Press to one side.

Place the double row end right sides together with the lining piece – with the plastic vinyl in between, having all edges even. Stitch the top edge through all three layers.

Fold back both fabric layers leaving the vinyl facing outwards. Carefully press the seam open without melting the vinyl.

With right sides together take the lining piece over to meet the other end of your panel. Pin and stitch. Turn through to right side and press well.

Fold over the two end strips of pieced squares to the front – the vinyl will meet (or slightly overlap) the upper pieced strip.
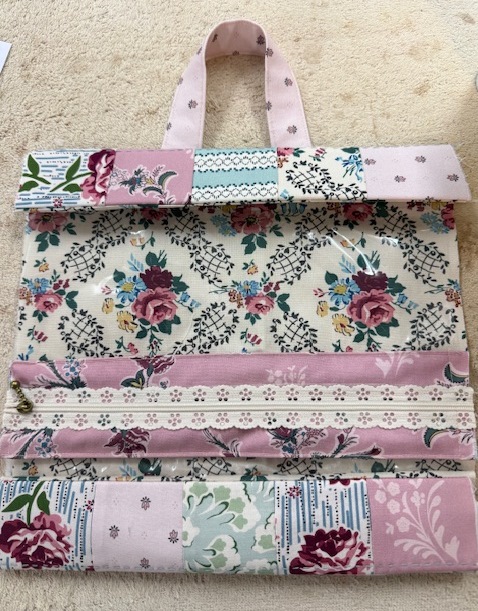
Press the folds at the top and bottom well as you need these folds for reference later.
If the vinyl is longer than the ‘gap’ you can either trim it back to meet or have the vinyl sitting under the fabric edge.
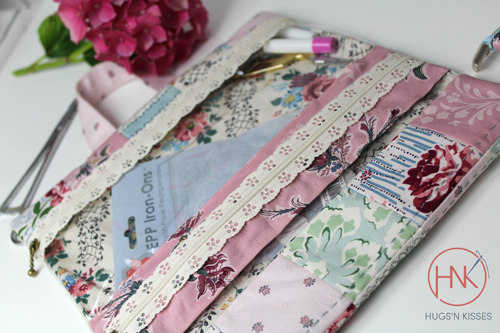
Position your lace zipper centrally on top of where the two meet.
Use the soluble DS tape again or Pin. Stitch down both sides of zipper – you may like to use a zipper foot, with a blending thread. The stitching line will go through the lining as well as the top fabric. The other side will just be through the vinyl. Trim any excess vinyl back to the stitch line.

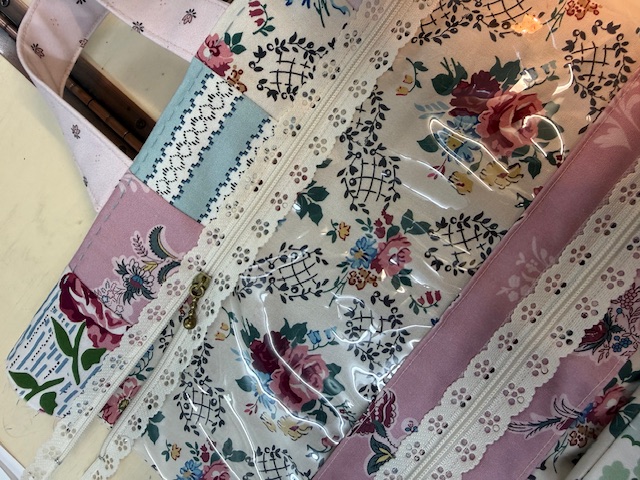
Note: the zipper will extend out both ends.
Turn the pouch completely inside out so that you see the wrong side of the lining and the wrong side of the outer pouch. The zip is in between.

Flatten the bottom side of the pouch so that the top edge and bottom edge are where your pressed folds were (in between the two rows of 5 squares and in between the single row and handle). Smooth out lining as flat as possible to meet these folds. Pin both edges. Note: the lining will be flat but the top and bottom edges will be pleated inwards so that there are actually four layers on top of each other.

Stitch ¼” down both side seams – take care when crossing the zipper that you don’t break a needle.

Trim the corners and any excess zipper protruding from the sides, ensure the zipper is partly open and turn through the opening you left in your lining. Push out the corners well, slip stitch the opening closed and again press well—carefully so you don’t melt your vinyl window. Turn the bag to the right side through the open zipper and give it a final press.