Tune in to Live@7withHelen Thursday nights at 7pm on Facebook and YouTube for great deals, demos, sneak peeks and more.

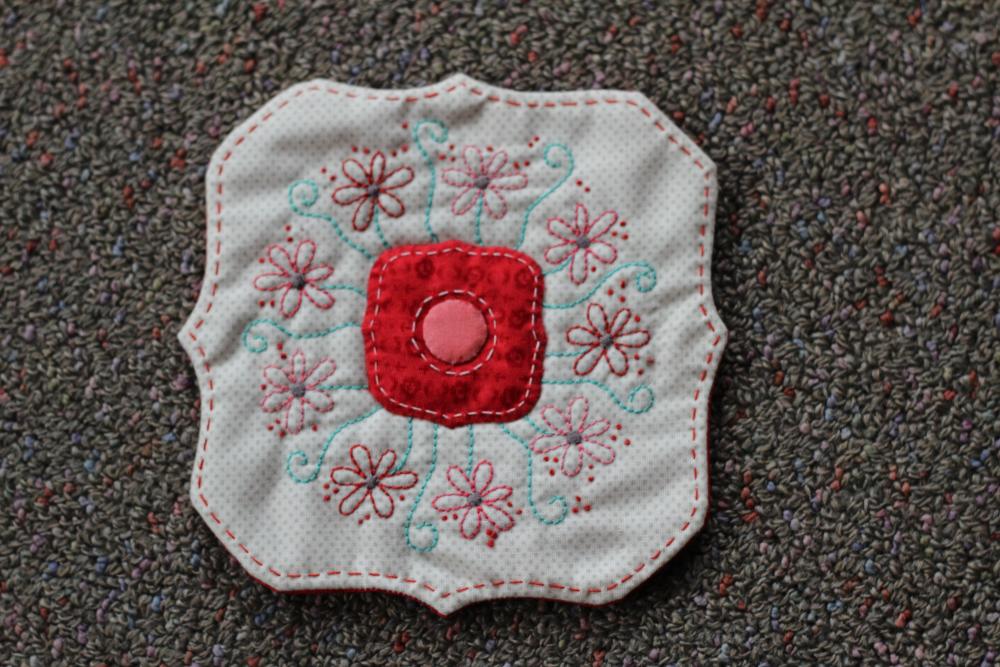
Sweet n Simple Coaster by Helen Stubbings
Small projects can bring the biggest joy. This sweet little stitched coaster is a relaxing make, combining simple stitchery
and appliqué into something both pretty and practical.
Coaster measures approximately 5 1⁄2”

Cut a square of background light coloured stitchery fabric 8” x 8”
Place the stitchery design onto a light box or window light source and place the background fabric centrally
on top. Trace the design elements using a ceramic pencil or similar. Trace the outer shape also but not the
dashed inner template shape (this is the stitching line when constructing the coaster).
Fuse a very lightweight batting or a stabiliser to the back of your stitchery panel.
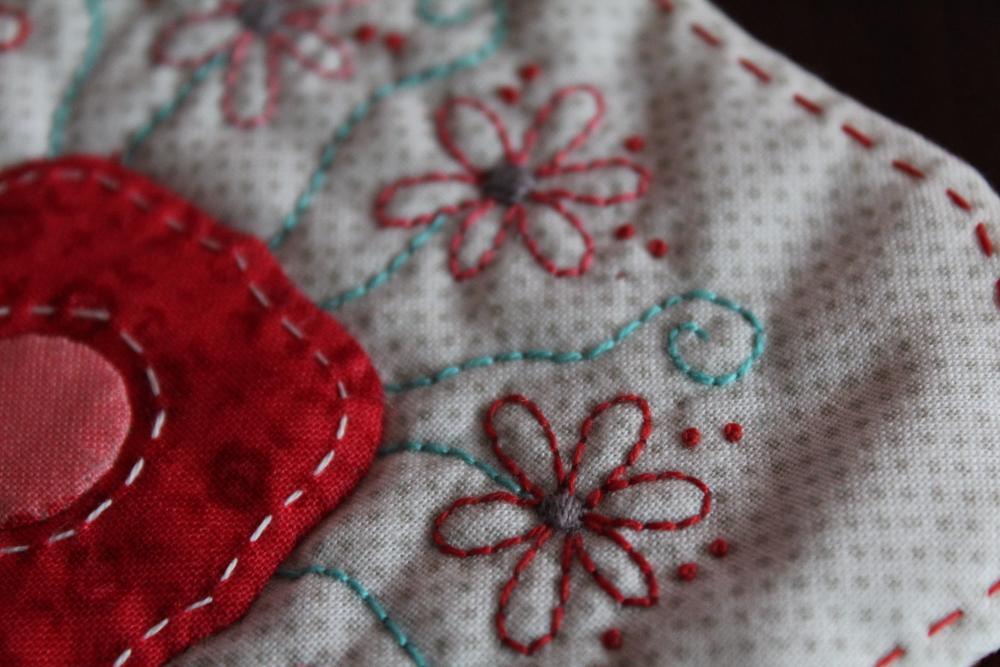
Place your panel into a 6” embroidery hoop and stitch all of your marked lines using your chosen threads
following the stitches advised on the pattern sheet. I used Presencia Finca Perle #16 threads and a #7 Crewel
needle to complete my stitching.
Applique: using your preferred applique method, or my method below, complete the applique in the centre
of the stitchery panel, you have already marked the position for these pieces.
I used a gluestick applique method: trace each template onto HNK applique paper. Cut pieces out
on the traced line and fuse to the wrong side of your chosen applique fabrics. Cut out leaving a small 1/8” seam
allowance. Run a line of glue around the edge of the template using a Sewline Glue pen. With your
thumb and finger press over the seam allowances onto the glued edge. You want to get nice smooth curves.
Once prepared use the Gluepen to position the applique pieces onto the background and stitch down using
a matching cotton thread, an applique needle and a normal blind stitch applique stitch.
Use a contrasting thread to stitch a running thread around the applique peice as shown on the design sheet.
Cut out your stitchery panel on the marked outer line. Place right sides together with a backing fabric and pin.
Stitch using a 1⁄4” seam around the edges. Cut a small slit in the centre of the backing fabric taking care to cut only
the one layer of fabric. Clip curves and trim the points and turn the coaster through the slit to the right side.
Push out all seams well and press. Slip stitch the opening closed.
Position the large circle applique piece centrally on the back of your coaster covering the slit and stitch into place.
Stitch a running stitch 1⁄4” from the outside edge using a contrasting thread to the front stitchery fabric to finish.
And just like that, you have a finished coaster ready for your table and a little reminder of the joy of slow stitching.
I hope you loved every stitch along the way and feel inspired to make a whole set.
Happy Stitching!
hugs, Helen