A step by step tutorial to assist the making of the Challionte Project pouch
We know that some people learn better visually rather than reading instructions so I have prepared this step by step photo tutorial to help you making up your Chatillionte project pouch.
You will first need to purchase your pattern here, and work along with the instructions and this tutorial for a perfect error free finish!
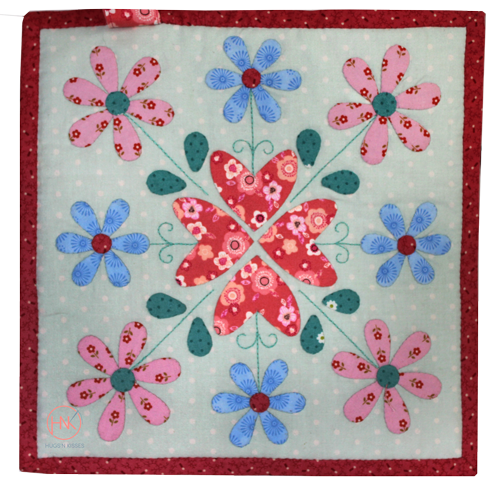
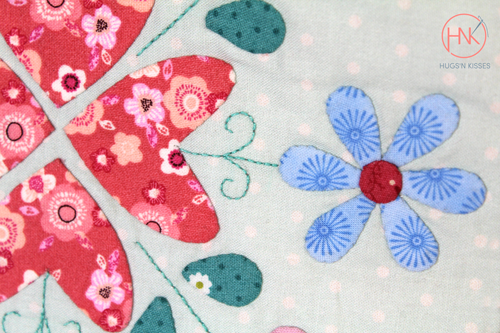
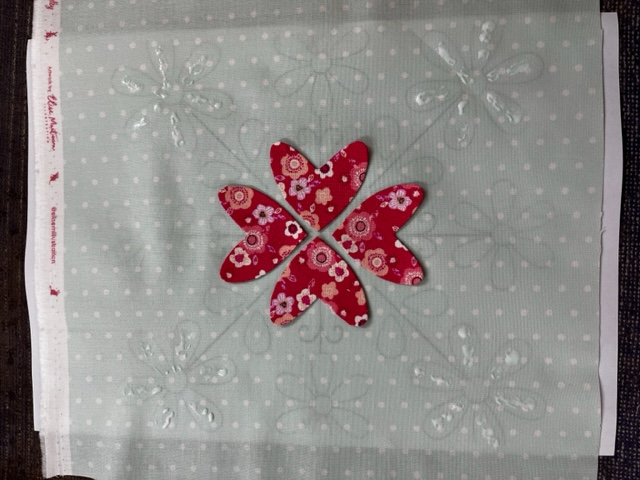
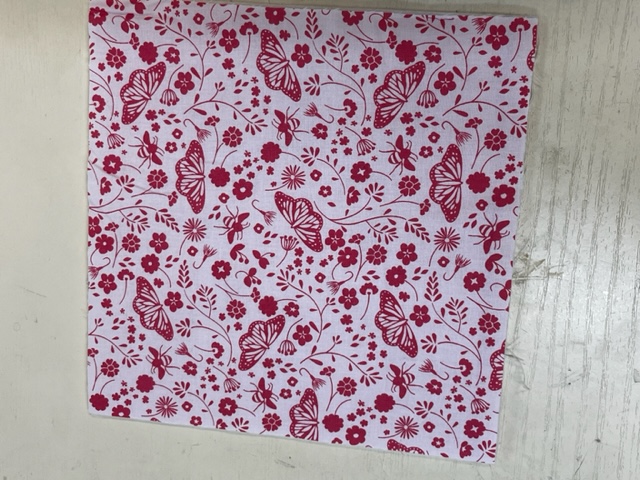
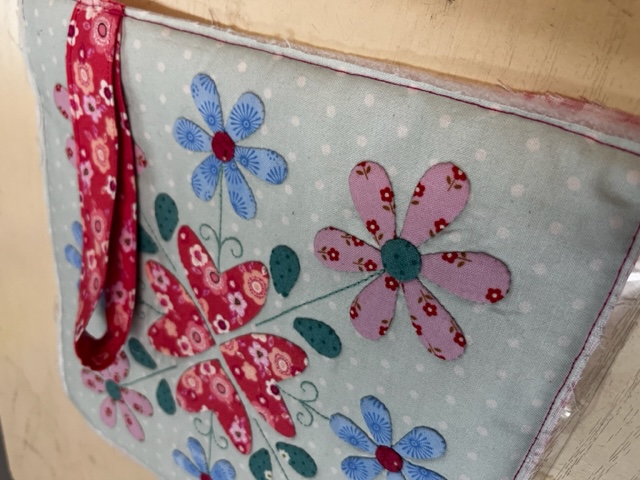
The first step is to follow your instructions and complete your applique. Once complete press well and trim to size as indicated.
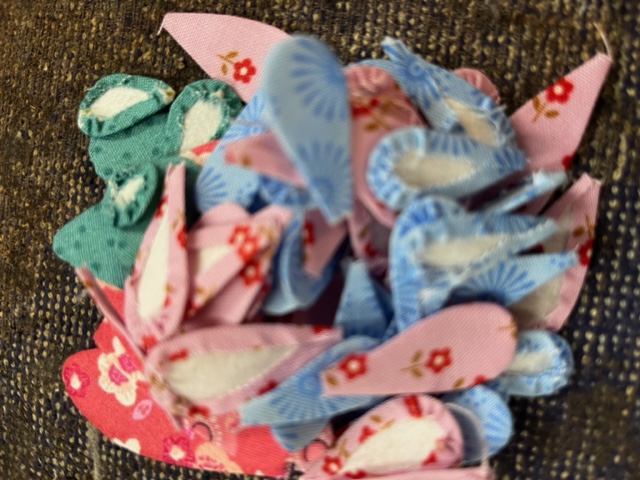
Fuse precut papers, glue edges over!
Place background fabric over layoutguide (use a lightbox if required)
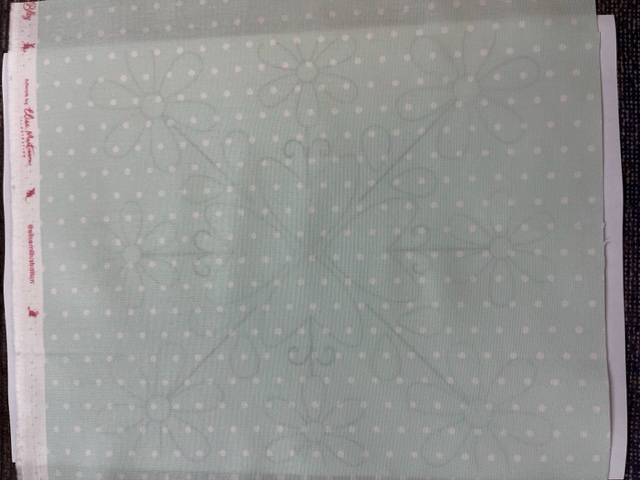
Use small dots of Roxann'es glue to baste into position
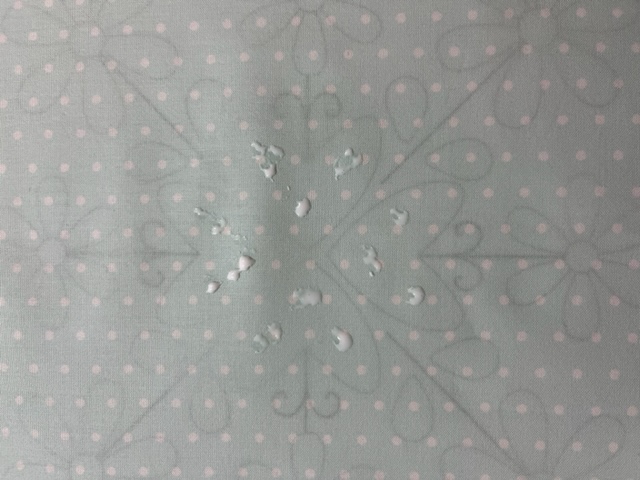

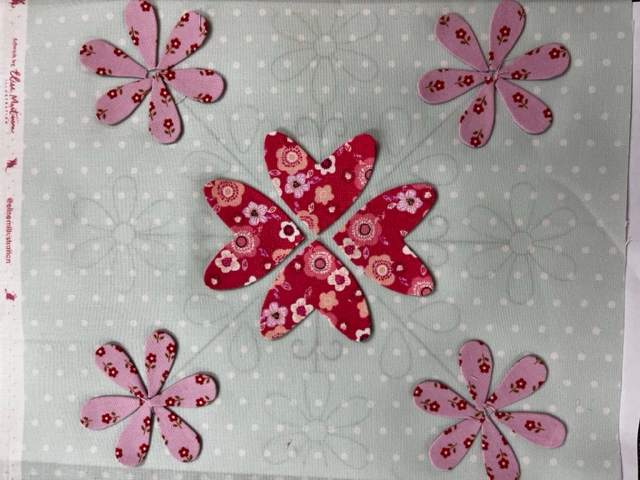
Whilst on lightbox trace stem lines and curls
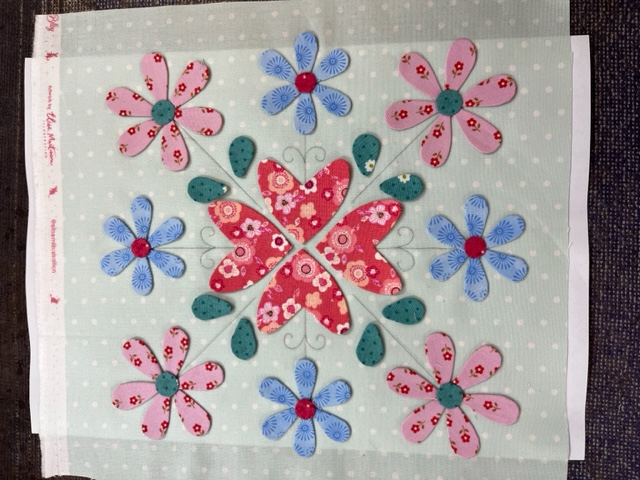
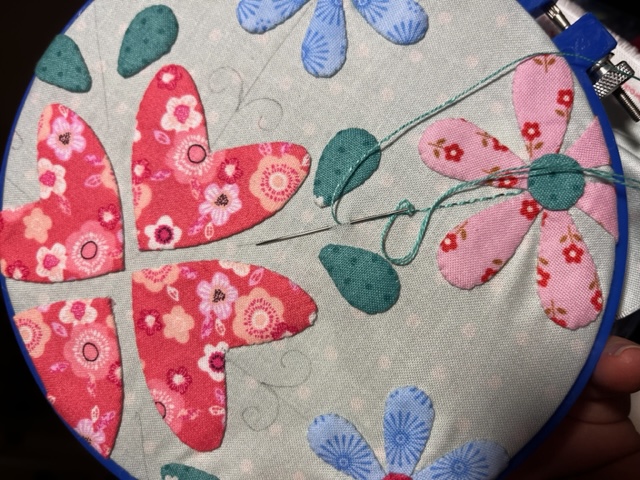
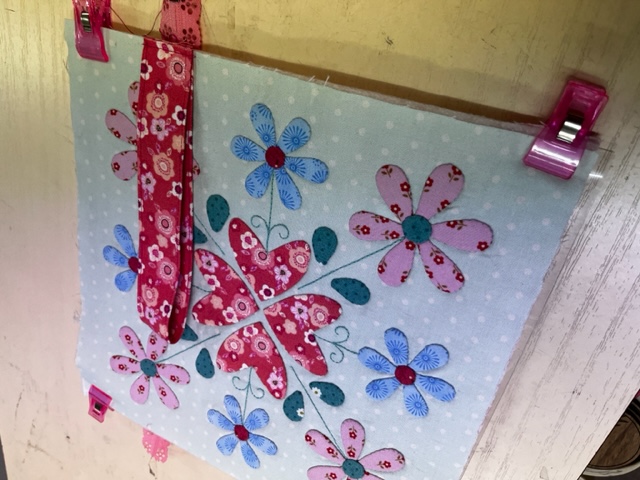
applique all pieces into place. Place into hoop and backstitch stem lines
Press and trim panel as per instructions.
Fuse/spray baste to lightweight batting or foam batting
Place wrong sides together with lining (spray baste to hold)
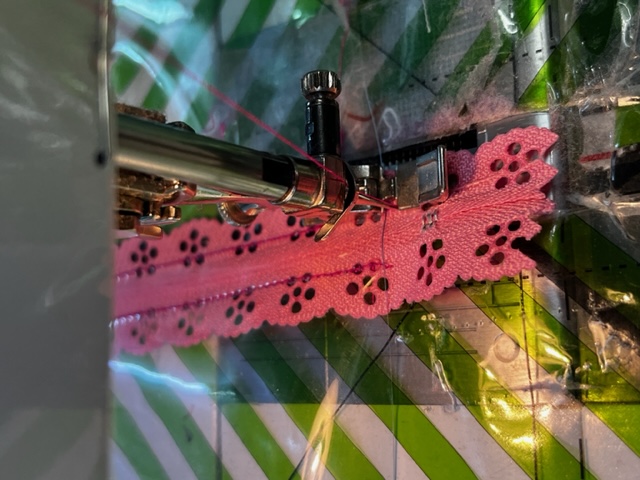
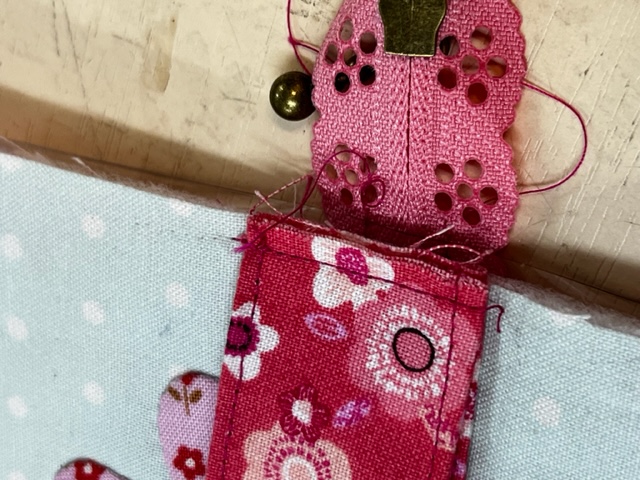
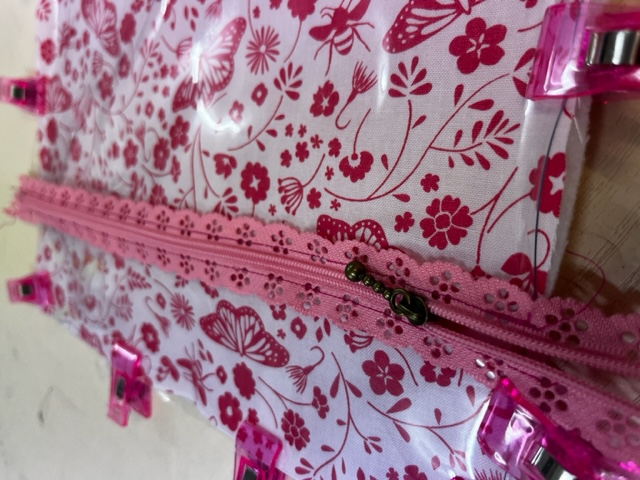
Place lace zipper on top of vinyl square. Klip into place.
Stitch using matching thread and zipper foot.
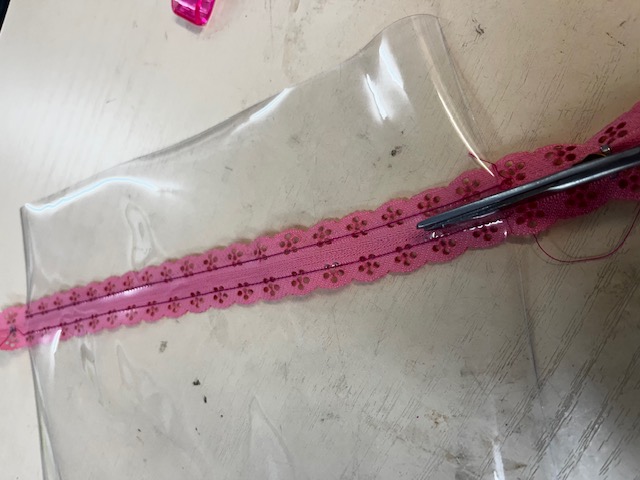
Use sharp small scissors to slice vinyl along the back of zipper teeth.
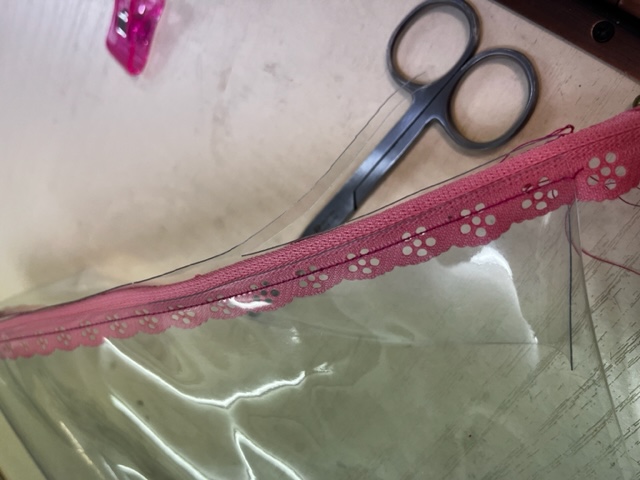
Fold and carefully trim vinyl away close to the stitch line on both sides
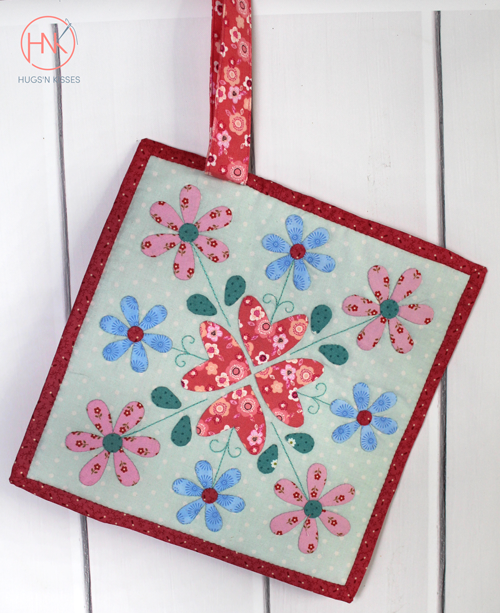
Handle: make handle as per instructions


Place front wrong sides together with back. Position folded handle even with zipper. (note: have handle at end with zipper pull when closed) Baste
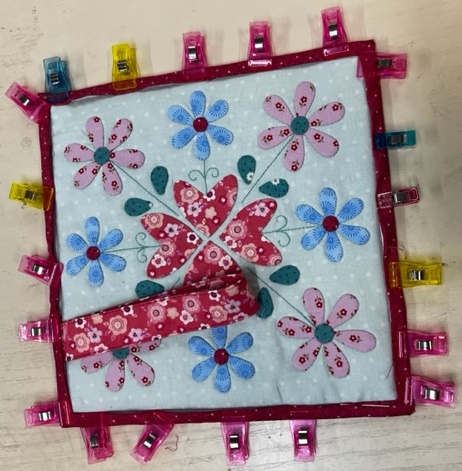
Open zipper so pull is just inside the bag edges. Klip or pin front and back together on all sides.
Baste around outside edges. Trim excess vinyl and/or backing to size of front.
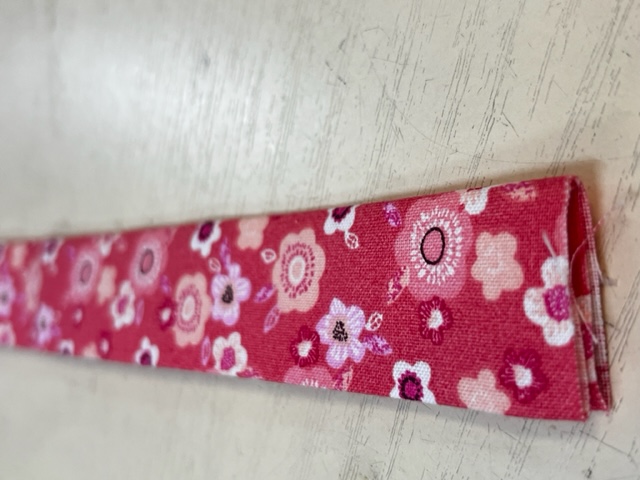
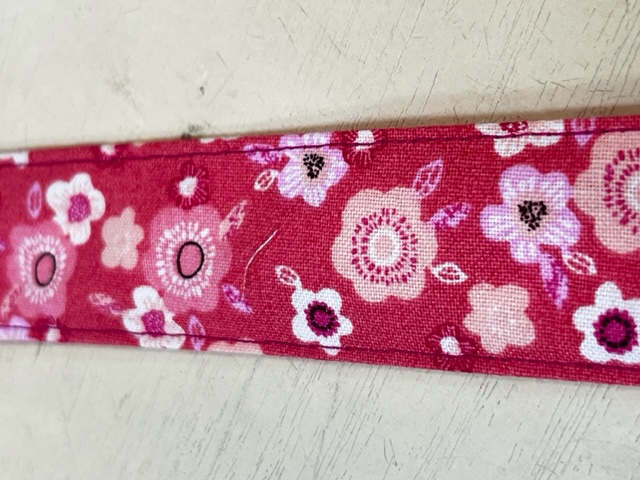
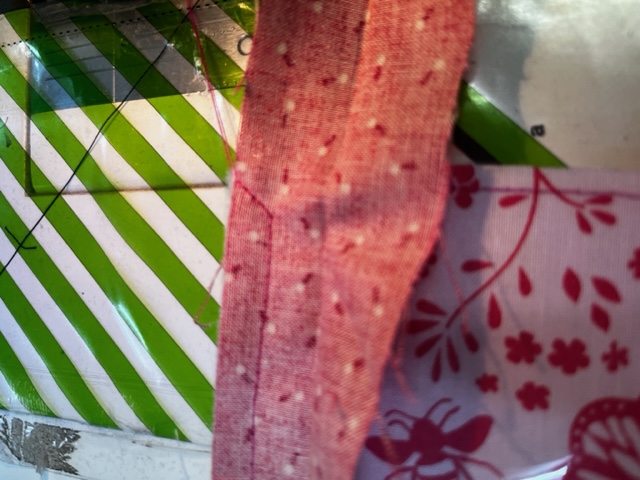
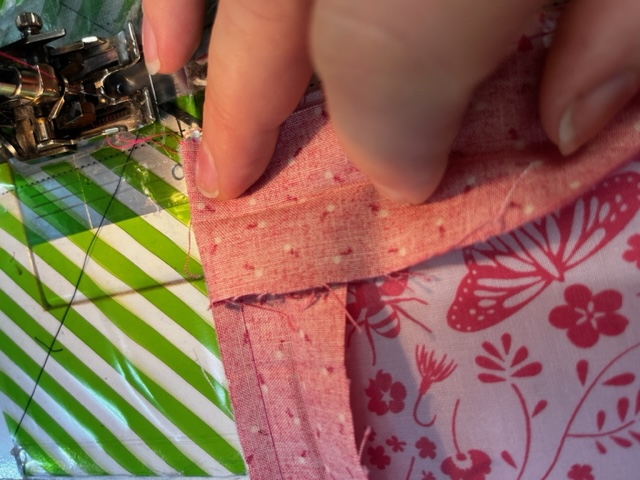
Make single fold binding. Fold strip and press in half lengthways
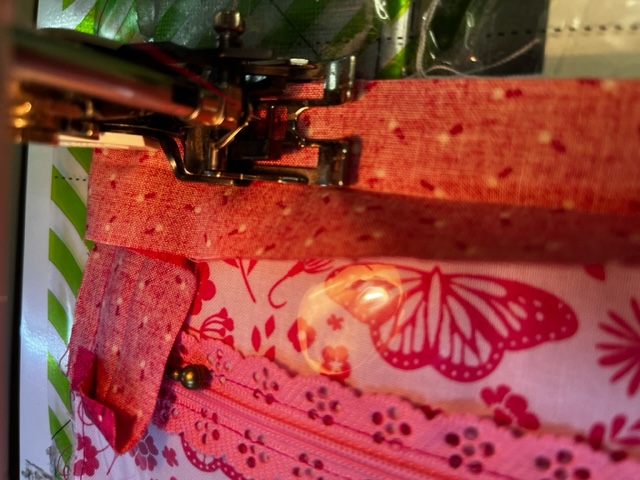
Press and fold 1/4" seam on one end. Beging at top of handle with folded edge. Stitch from back using 1/4" foot mitring corneres as you go.
Stitch to 1/4" from end and stitch off at 45 degrees.
fold strip up, then down with fold even with edge of panel

continue stitching in new direction - when you reach start point cross end 1/4" past folded edge.
fold binding to the edge of panel and then to front meeting the stitch line. Klip and slip stitch into place